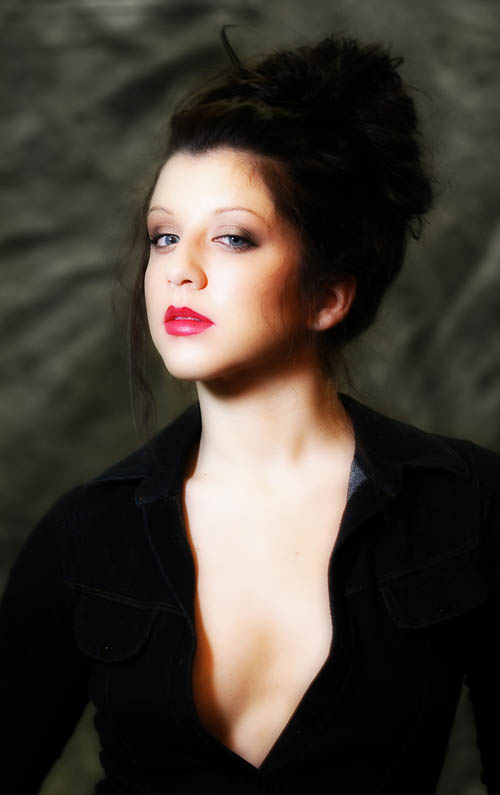
Making dramatic headshots isn’t hard if you know some simple tricks & have a light… or 2.
This video tutorial starts with a simple one umbrella and fill card headshot. I consider it a classic glamour look with flat light and dramatic fall off on the sides. We use a shiny fill card to upen the shadows under the chin, lip, nose and eye sockets. It also lights up the eyes very well to present them in stunning color.
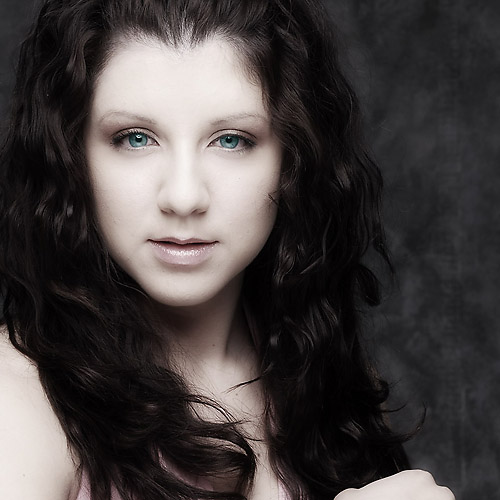
Our second shot finds us using a piece of equipment for the first time. This is essentially one way I test out new equipment this same way: bring in a model and try the light by itself, then add fill and modifiers to see how the light reacts with it. In this case it is Megan’s DIY beauty dish. Amazing… an IKEA light reflector and a speedlight with a little ingenuity and super glue. Total price for this cool tool… > $10. We add fill cards and shiny cards, and I climb up on a small box for a somewhat different view.
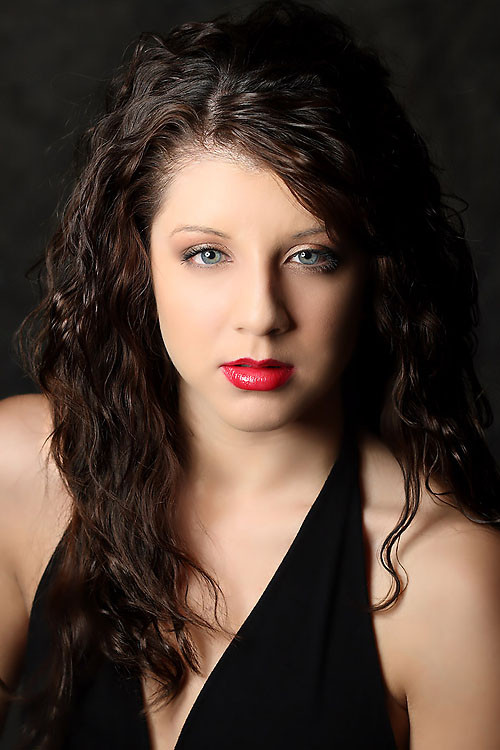
The last shot uses two speedlights: one is the main and in a circular parabolic with tissue paper over it, the second with the home made beauty dish aimed at the background very close to it. This gives a very nice, gradual fall off for a back light. I really liked the look of this and will be doing another shoot with it soon. And this Friday I have a location shoot where this may come in handy.
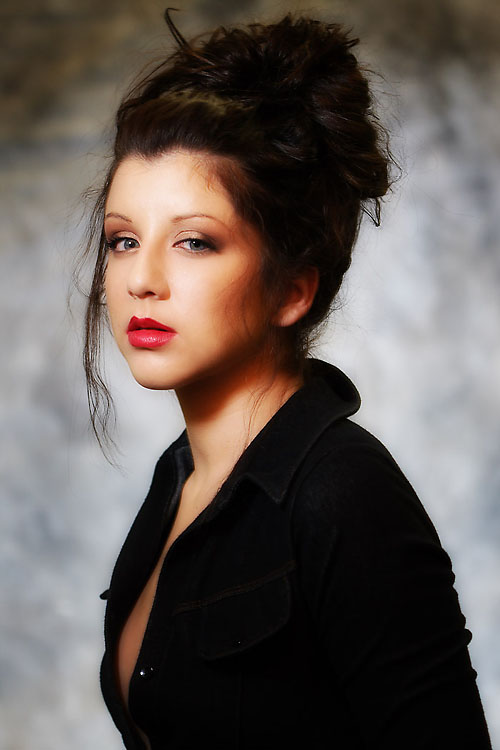
Gallery:
|
Information for today’s photographer. From novice to pro, LEMagazine has |
 |
 |



you mentioned a lot of DIY lighting equipment, any way you could post the links on how to create that gear
thanks a ton!