A Simple and Easy Background Stand
By Virginia Smith
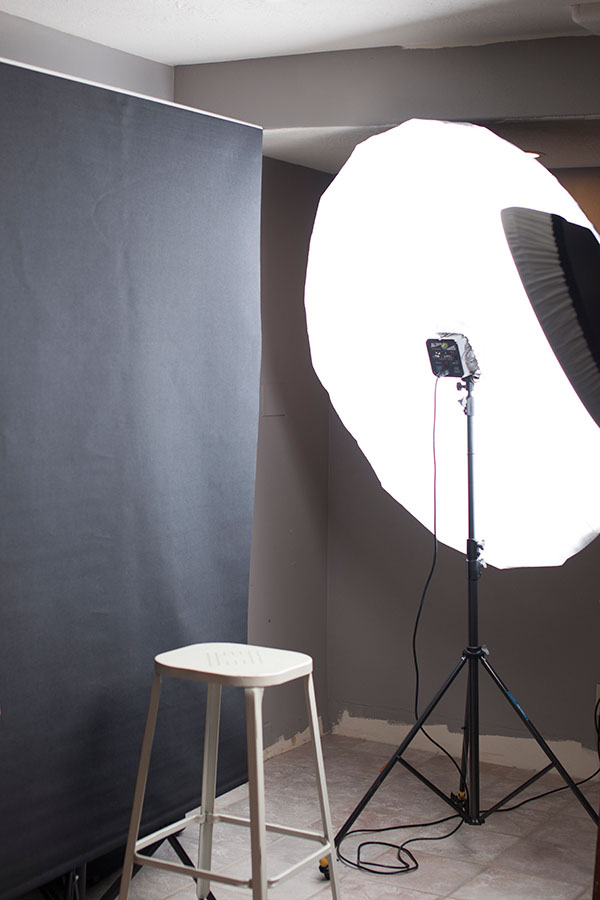
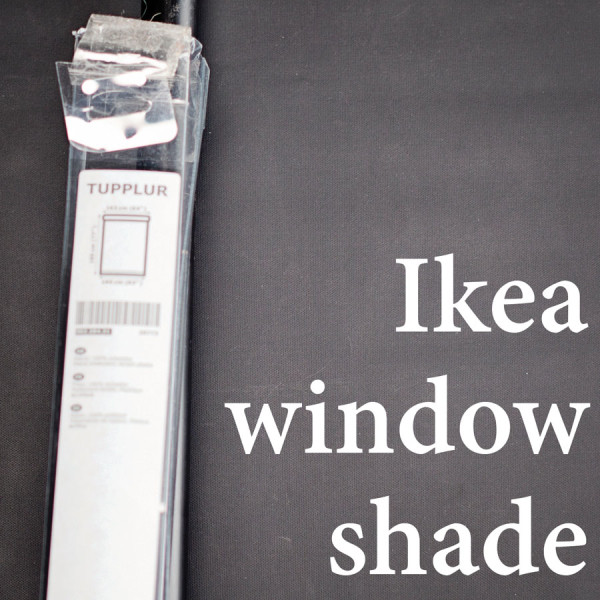
Every photographer needs a simple portable backdrop for portraits, headshots, product photography. If we had the budget of Annie Liebowitz then we’d all have Handpainted Oliphant Canvas Backgrounds, only the finest backdrop available to photographers. But when we’re just starting out or would rather spend the money elsewhere then a simple backdrop can be had for very little money using window shades from Ikea. Besides being inexpensive, they have a great linen fabric texture and look professional to clients. You can easily add a texture to look like a handpainted background or as I did for an 70’s yearbook inspired annual report, add a chalkboard background.
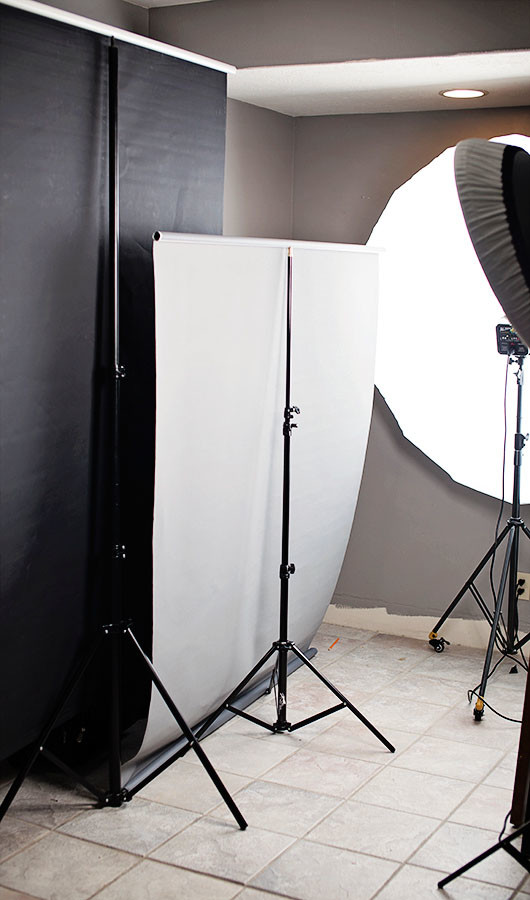
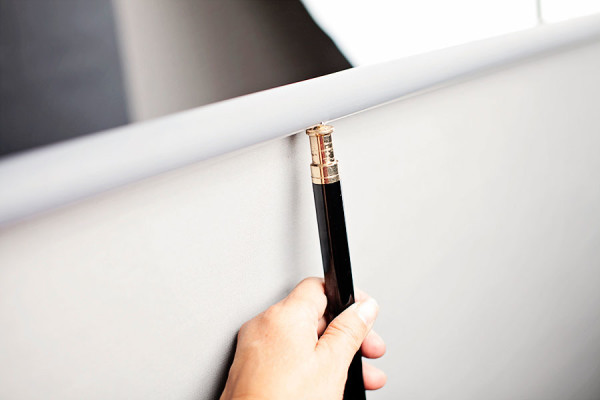
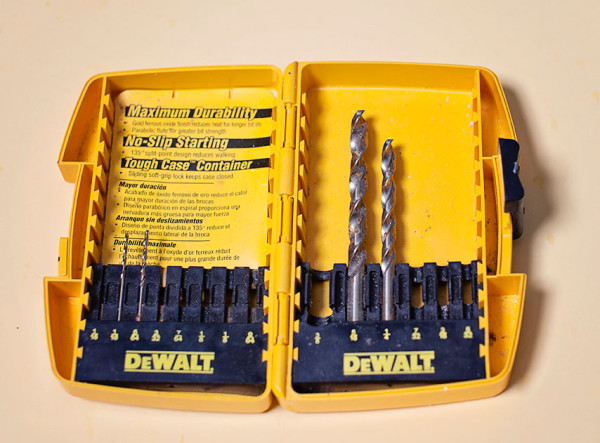
I bought the 70” wide shades. They come in Black, Grey and White for about $35 each. I had a background stand but a lightstand can be used as well. Remove all the roller shade hardware, unroll/reroll shade like a scroll from the other side and then mark exactly the middle of the blind on the metal roller. Drill a hole (5/16” for Background Stands and 1/4 “ for Light Stands) but do not drill all the way through. Clean up the metal by flattening anything that sticks out with a screwdriver and lightly sanding with an emery board.
Now you can insert the threaded top of the stand into the hole you drilled and turn the loosened lightstand pole to screw into the hole. This will help keep the backdrop from falling off. Because the hole is drilled dead center the weight is evenly distributed and it hangs straight. You can now extend your stand to the height you prefer. The length is 76” so full body shots of tall people may be an issue but it’s perfect for most applications. You can fold the backdrop onto a tabletop for product photography as well. I’ve even clamped a lightweight piece of fabric over it when I want a print or bright color.
Care needs to be taken to keep the shade rolled up as you install it. By reverse rolling it you can keep it neat and clean. It’s a good idea to glue in the wood piece that weights the bottom. I have been carrying it around in it’s original packaging with a bungee cord to hold a couple together but I love this solution so much it will have its own carrying bag. I’ve been looking at some ski bags for about $35. I’ve used mine about 10 to 12 times now. When they get beat up I can always paint them to look like the handpainted Oliphants! But that’s another tutorial.
See more of Virginia’s work at her website.

