There are times when the natural light is simply so gorgeous you have to shoot it. And there are times when the natural light is very nice, but something can be done to make it a bit more, well, perfect.
We are going to look at 4 examples of using modifiers to create an image where we are using the natural light as our main source, but add a little something with our modifiers. Simple shots with simple solutions.

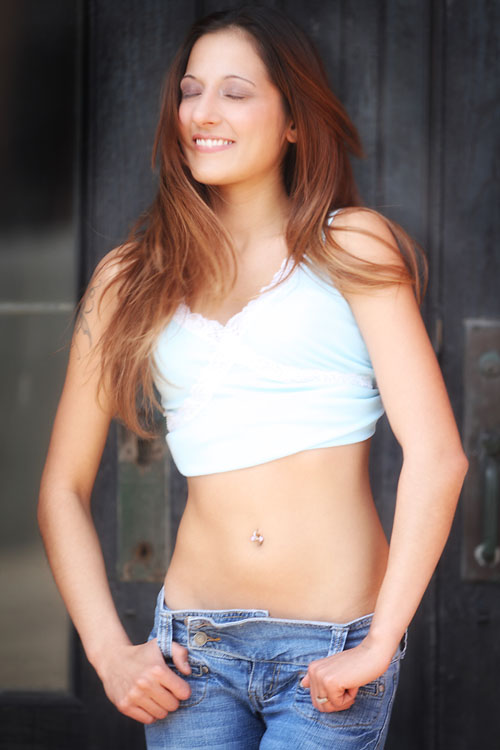
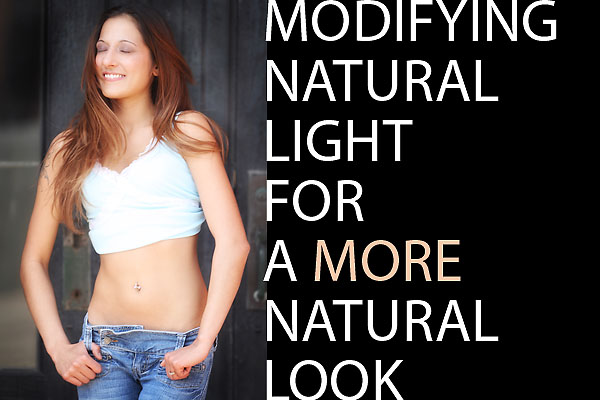
Our first shot is Kymmy at the Detroit workshop.
We found this cool entryway facing south with the sun still pretty high in the sky. Placing Kymmy just under the eaves put her into the shade with some wonderful light giving a soft, wrapped look to her. it made her skin nearly glow and gave some nice modeling to her shape.
However, we saw that the interior of the doorway behind her was way too dark. It made her stand out against the black background with an un-natural look to it. We added a speedlight in the corner on a ledge and aimed it at the back of the entryway. It was zoomed out to wide angle coverage and we fired it with a wireless trigger. The power was very low and it only opened up the shadowy area. I didn’t want a ‘blast’ of backlight or highlights on the painted wood, just a little bit of light to fill in the darkness and make the image look more natural.
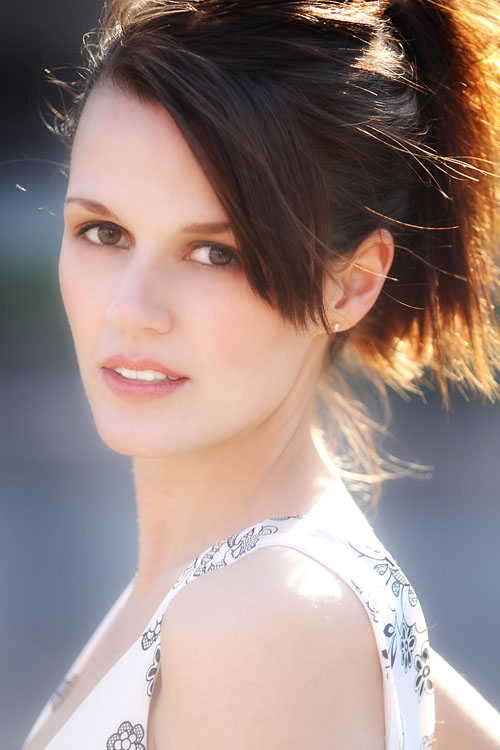
Next we have Stacia standing with the light coming behind her. She is mostly lit by the large white building behind me, but a wink of fill-flash was all we needed to open up her eyes and add some light to her skin. Since the speedlight was set to only add 1/3 stop over the ambient natural light, no shadows result, nor is it looking like a harshly lit ‘Fill Flash’ image. Gently using the flash at minimal power can make wonderful little tweaks to the already lovely natural light.
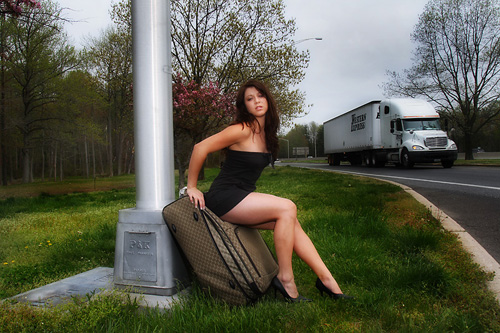
Here we have Briana on the Freeway. I am not going to go into the story that this image led to, but suffice it to say that it was a tense moment with us and a cop who had been lied to by a ‘concerned citizen’ with a filthy mind. Let’s talk light though.
The point of this shot was to make Briana look like a natural part of the landscape, not a ‘hero’ or somehow to light her with artificiality. I took the ambient reading and set the flash to match that. That is all you need to do on shots like this. Just set the flash to match the soft overall light, and when it flashes it only affects the darker and shadow areas of the image, opening them ever so slightly to give better skin tones. You can see the reflection of the light on the pole, as there was a resulting natural specular, but it is nealy un-noticed at all on Briana and the surroundings.
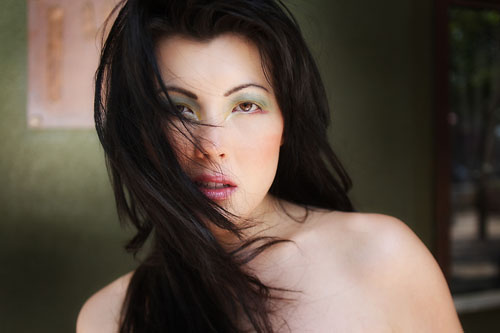
Lastly we have Malisha in Sunnyvale at the workshop. I was loving the way the wind was whipping her hair around and giving it that soft, sexy look. She was standing under an awning and being lit by the sky and the buildings behind me. That’s it. I loved the fact that her makeup and coloring matched the color behind her, so I had one of the workshop attendees use the Gold reflector to shine a bit on the background. This gave the image a gradient on the background, making Malisha pop a bit more, and it also added some depth to the image, taking out the flat look that open shade can have.
When you are setting up a shot and it looks like natural light may be the way to go, think about whether or not adding a little modification could make the shot pop even more without even being noticed. Whether it is to make the background more interesting, or to open up the eyes, add sheen to the skin or make the soft overcast ambient have bit more punch, a little modification could make the difference.





Lovely light! I am particuluarly impressed by the photo of Stacia and the wonderful combination of back-light and fill-in. Well done!
I’ve returned several times to this post to look at Stacia’s incredible photo. What strikes me today is how little contrast there is between the left side of her nose and her cheek – I’m sure this adds to the photo’s impact.
Is this an effect that’s easily replicable under a certain light, does it require post-processing or did it just happen that way?
Not hard to do at all. Just keep the flash on axis of the camera or the nose. In this case I kept the flash on axis of the camera so the face is getting light straight from the angle of the camera. That keeps shadows to a minimum. You must have an angle to have a shadow, so I keep my light on axis. This means my assistant has to constantly be aware when I move so the light moves with me, and if I am lighting on a stand, I make the model move but keep her in line with the light.
“the speedlight was set to only add 1/3 stop over the ambient natural light” – could you explain this concept in more detail?
Thanks.
Don, thanks for the detailed information you left in regards to wedding_photographers comments. I learn so much from your site and what I catch of your video on you tube.
ksquires:
What that means is that the ambient light reading (ambient meaning the light on her face as opposed to the direct light coming from behind) was taken with a meter on ambient facing the camera. Let’s say it was f5.6 at 1/200. The flash light would have measured on the face at 5.6.3 (6.1 on the more modern cameras I believe. My older meters do not have the third stops, just tenths over/under. With such little power and light directed to the face, the exposure of the skin is not changed, but the shadows and eyes are ‘opened’ and the shot has more snap.
Wizwow… these are beautiful!!! I don’t know if you read the comments on this post anymore.. but I wanted to follow up on ksquires’ question “the speedlight was set to only add 1/3 stop over the ambient natural lightâ€
Forgive me for the newbie question, but how do you get the speedlight to do that? I have a speedlight (just learning) and know how to dial it up and dial it back, but I don’t understand how you do that in relation to ambient light. I don’t have a light meter … is that required? Thanks!!!
Hi Christine,
You do need to have some way of knowing the ambient reading, and how the flash will react (power/distance) to it.
If you do know that the ambient is f-8 (at your given shutterspeed), then the flash would be set at a distance/power to render f-9. That is 1/3 stop brighter than the f-8 ambient. A meter makes it so much easier to figure, but you can also build a string meter. See this page.
Hope that helps.