There are times when the light you have doesn’t match the light you want. The drama of moody skies are rendered useless if they are overexposed and the muddy, dark skin tones of heavily overcast days can make the most competent Photoshop Guru moan in agony.
What to do? Think about underexposing the surroundings to bring the drama back to the image. But that doesn’t mean underexposing the subject. We can use our small flashes to create a light that features our subject and darkens the surroundings. This somewhat muted, eery look we call “beating the sun.” And we did this shot with only two small strobes and a boom. And a willing and beautiful model helped.
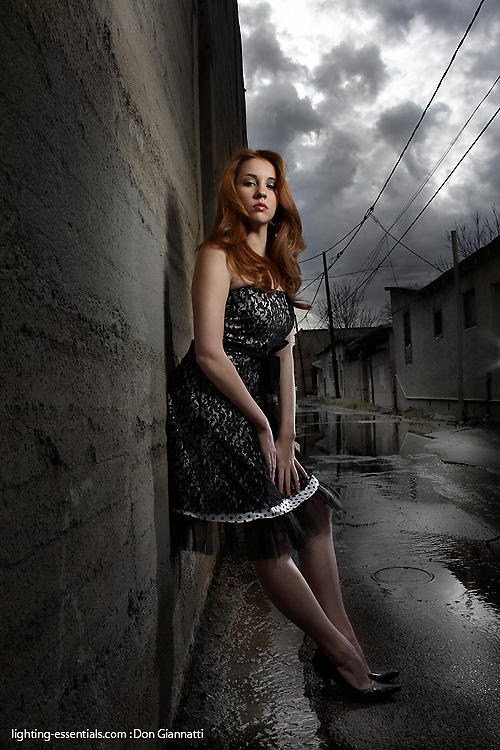
When we got to the location I was struck that the sun, even though behind some rather dark and moody clouds, was shining right down the alley towards us. This caused a wonderful reflection on the water as it trickled down through the buildings. All in all, somewhat of an unusual scene.
To add to the unusual look, we put Haley into a party dress. One that was totally incongruous to the scene and the light we were going to create. This unusual wardrobe selection helps to make the shot a little more ‘over the top’ than say, shorts and a t-shirt would.
Gear for this shot:
Camera and Wide Angle (20-35mm L Canon)
Two Stands
One Boom (human boom optional, but very nice)
Two speedlights (I am using an SB 800 and a 430EX)
One Small softbox for the main light
Wireless triggers
John Sartin (a shooter who was assisting me on this shot), took one stand mounted speedlight down the alley and pointed it back toward Haley. This gave her a very slight rim light and added separation between her and the scene. We placed it low to get plenty of rim light on her legs as they would be a little darker than her body.
As we used a speedlight in a small softbox for main light, I knew that it would not cover her entirely at the distance we were using. That meant that the light would fall off as it went down her body to her legs. Adding the rim light to the legs gave them depth and also separation. Two battery operated speedlights were all that was needed to get the shot.
You can see the lighting diagram here:
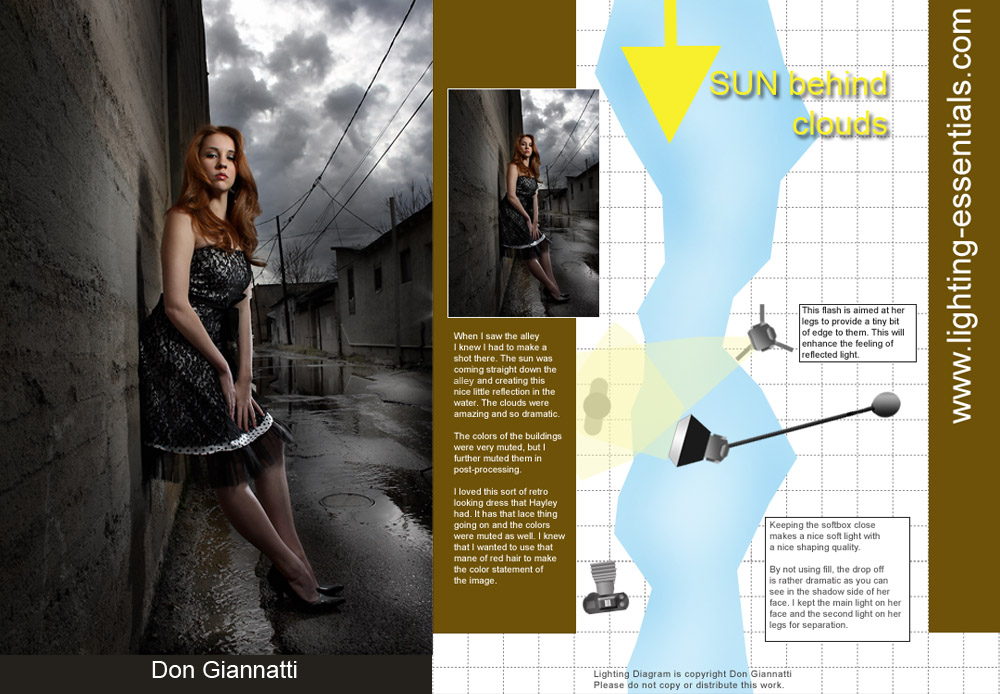
Click the image to see a larger, clearer size.
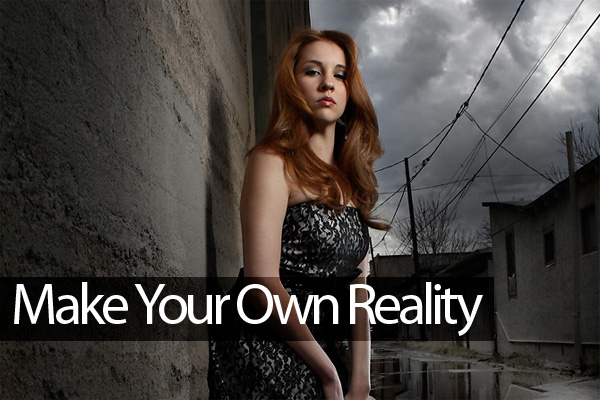
It doesn’t take long to set up your image when you see it in your mind beforehand. This image is exactly what I saw in my head as I walked into the alley. The darkened sky, reflections in the water amd the muted, mysterious color. I simply had to make it work with the equipment I had with me and we did.
I chose a medium wide angle lens to lengthen Haley’s legs and show the incredible location for the shot. Coming in too close would have missed the converging alley and the mysterious, stormy clouds.
I worked a little in Photoshop to desaturate the surroundings a bit, darken the clouds and add a little ‘grittiness’ to the image.
Having an assistant who will hold a softbox on a boom over his head for as long as it takes you to get the shot is simply wonderful. Thanks, John. And thanks to Haley for all her hard work to make the shot have a sense of life to it.




Love the shot, the texture, the water, everything! My only complain is about the shadows on the wall. We can clearly see that more than one light was used which make the whole picture seem unnatural as soon as I spotted it. Btw, the skin is awesome!
Hi megapixelicious:
Thanks for the comment. Appreciated.
I didn’t see any reason to change the shadows on the wall, as I didn’t want it to look weird, or ‘natural.’ I don’t want the image to seem surrealistic, preferring the shadows to add some ‘grounding’ to the image. If she were ‘floating’ against the wall, the shot would seem very unnatural to me. Having the rim light and the added shadow gives it the depth I wanted. All a matter of choice of course.
Cheers.
Hi, Can you please write an in-depth how to article on beating the sun with speedlites etc…
How it’s done, settings etc.. using one or two speedlites.
Many thanks and much appreciated.
Hi Don,
Thankyou for such a great site & thankyou for sharing your knowledge! I’m inspired to get a second speedlight, and reduce my hire costs (for studio strobes)!
Just one question, can you please shed some light (bad pun) on the softbox you used (on the boom) in this above photo in the alleyway? Is it homemade or a very small box for speedlights? I have a canon 580Exii and would love to get some kind of a softbox for it.
All the best,
Robert
Love the photo! I have been trying and trying to figure out how to do the “grittiness” that you are talking about and would love to hear how you do yours. It would be much appreciated!