WELCOME TO THE BEVERAGE CLASS AT LIGHTING ESSENTIALS.
This is one of the most popular classes I offer. You will learn so much about how to see a shot before you make it, then find details that will help push your photography to a higher level. Beverage photography is a combination of art and technology with a bit of magic inspiration. If you are a tabletop, product, or food photographer, you will benefit from taking this class.
The class will operate this way:
Assignments are given for each week. You will have two weeks to shoot each assignment, and be working on one assignment each week. After completing the work, the images are uploaded to the workshop page and put into a gallery for review.
Late submissions may or may not be reviewed live.
Reviews will be on Wednesday Evening, at 6PM Pacific. They sometimes run two hours, and we take the time to make sure everyone benefits from each image reviewed.
UPLOAD:
ONE image of the assigned subject.
ONE or TWO images of the BTS (Behind the Scenes) – a photo of your setup showing the lighting and camera position. You may need to do more than one image to make sure you can cover the work you did adequately.
PLEASE NO MORE THAN THREE IMAGES PER STUDENT – Subject + BTS (1 OR 2)
There may be exceptions, and they will be noted on the assignment pages.
The shows will be recorded and put on YouTube for your review.
The review videos are not public, so your reviews are safe from prying eyes.
The FEE for this class is $165.00
We begin the workshop on May 21, 2025.
This class includes a special free workshop on how to find work in your area.
This workshop will be held two weeks after we finish the beverage workshop.
JOIN THE FACEBOOK GROUP
We have a private group for all of the Lighting Essentials / Project 52 members.
You will be invited to join with your enrollment. This is a lifetime membership.
WHAT GEAR WILL YOU NEED?
Softbox, scrim, and boom are HIGHLY recommended.
Camera with at least one mid-range lens: 35-50-85
Tripod
Photoshop or an equivalent to process the images.
Lighting: Whether it is LED, Strobe, or Speedlight, please be familiar with your lighting gear.
A tabletop (3×3, 4×4) and a place to shoot with room around the table for lights and camera.
Surfaces: Tile (ceramic or stone – at least three pieces, wood if you like, and white and black surfaces of varying substances.
Props:
Glasses
Wine glasses
Cocktail glasses
Beer Stein
Assorted props of your choosing for your work and style
See Dollar Stores and Goodwill for suitable glasses and containers.
… AND A GREAT ATTITUDE!
In photography as in life, attitude can make a difference.
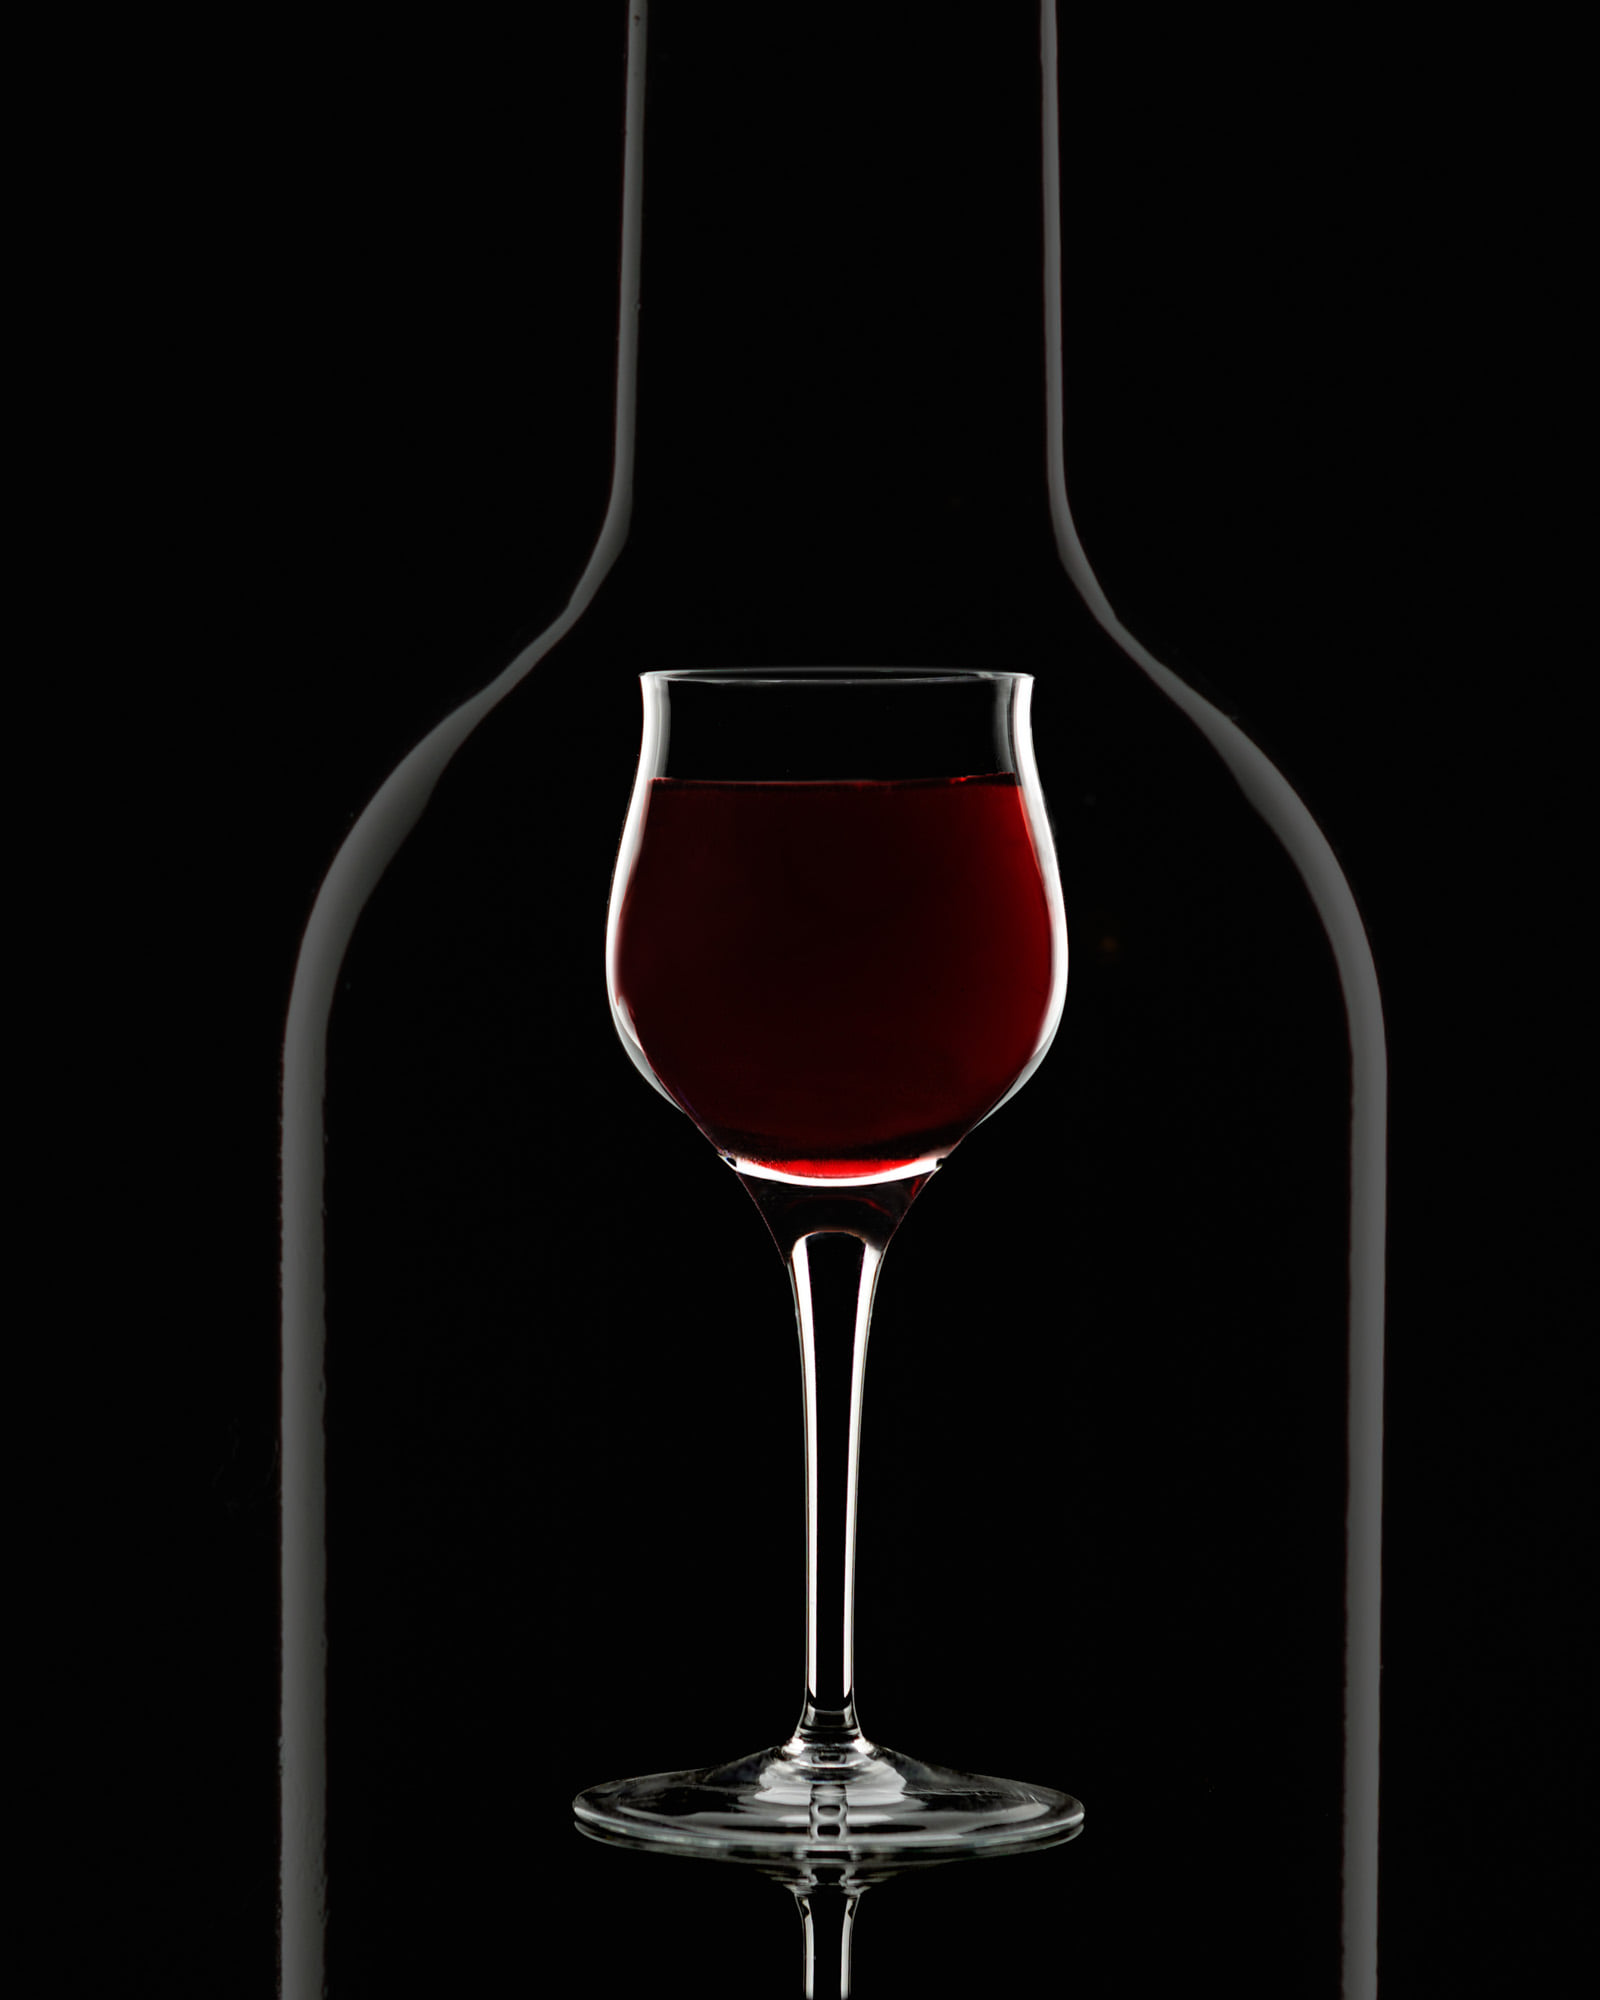
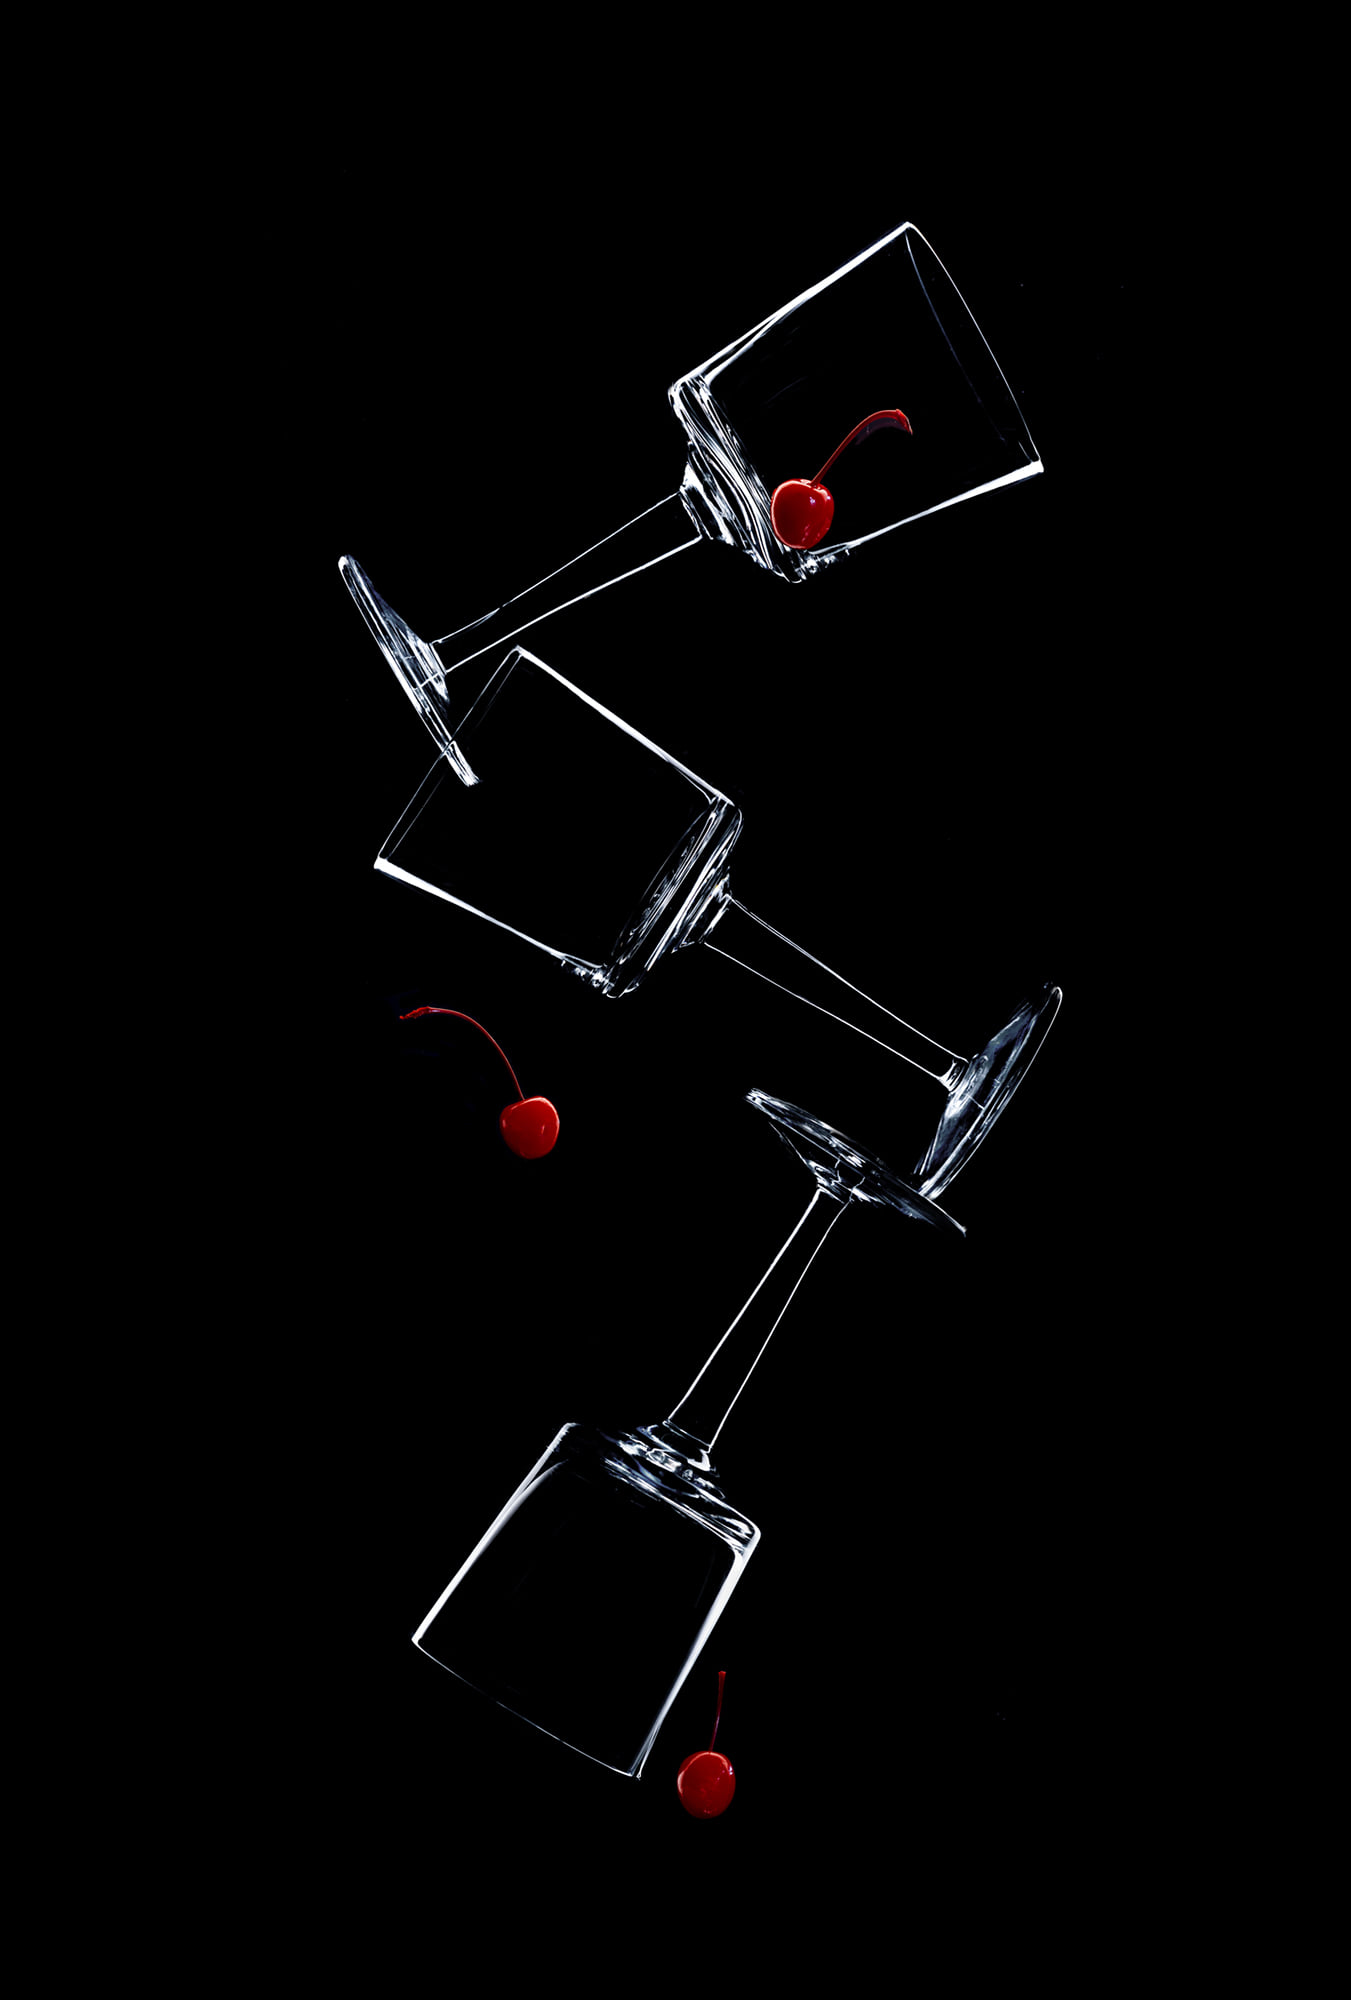
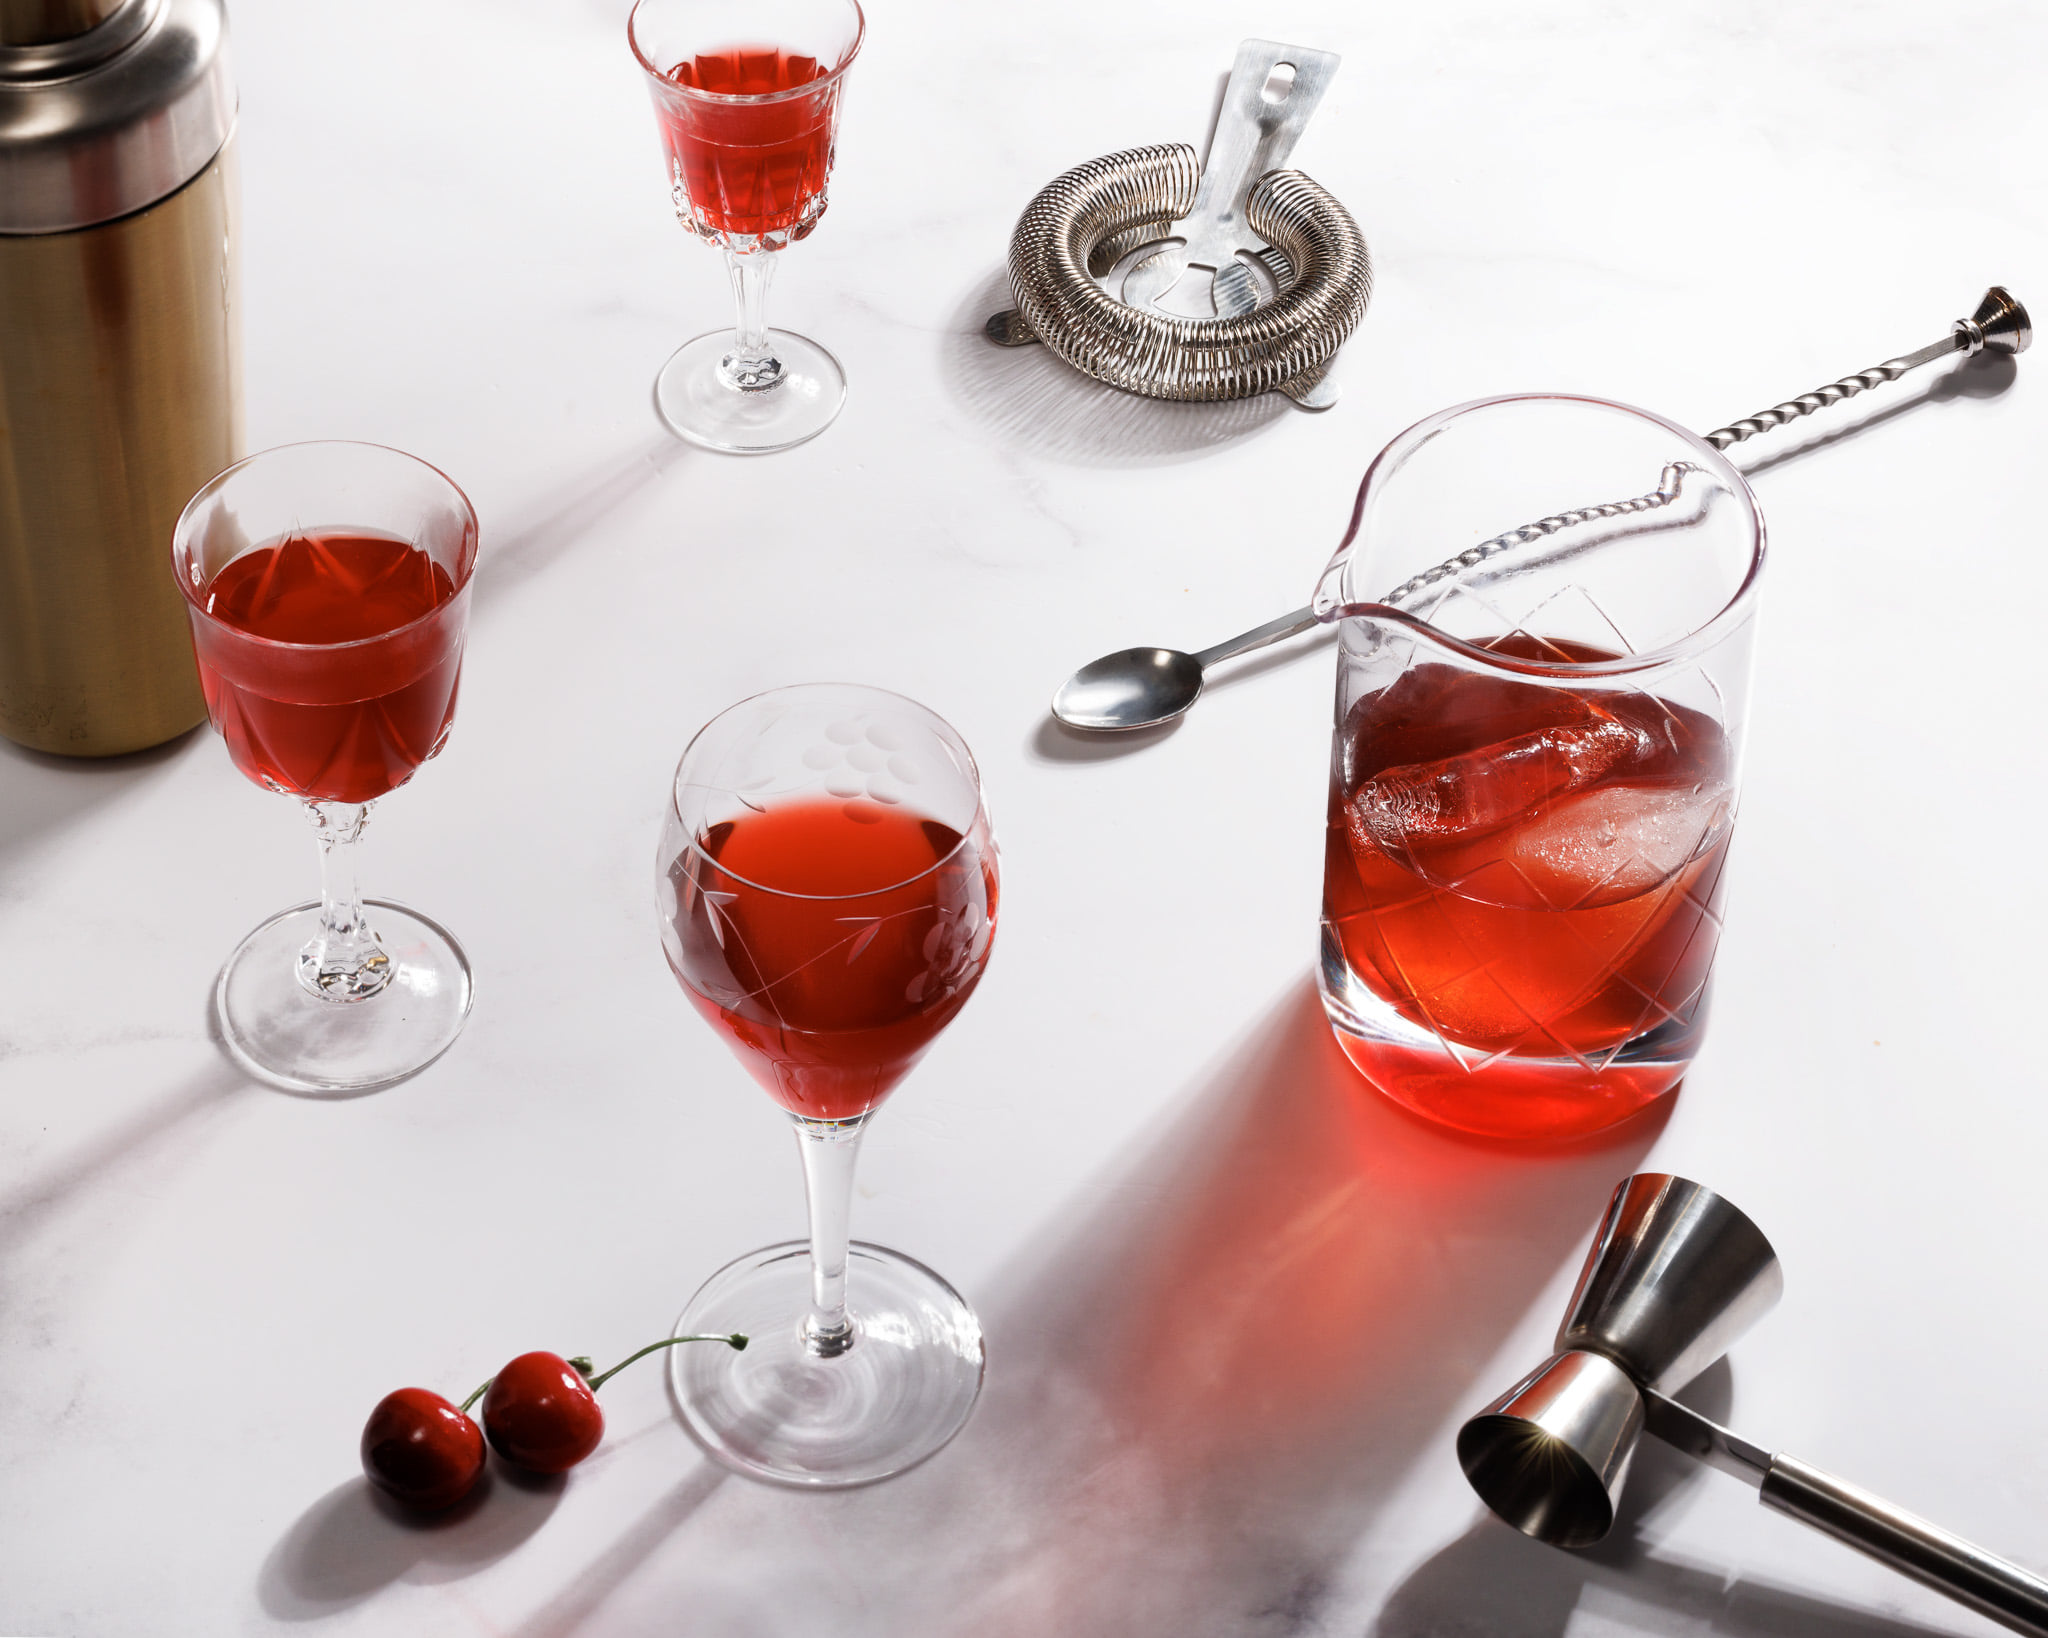
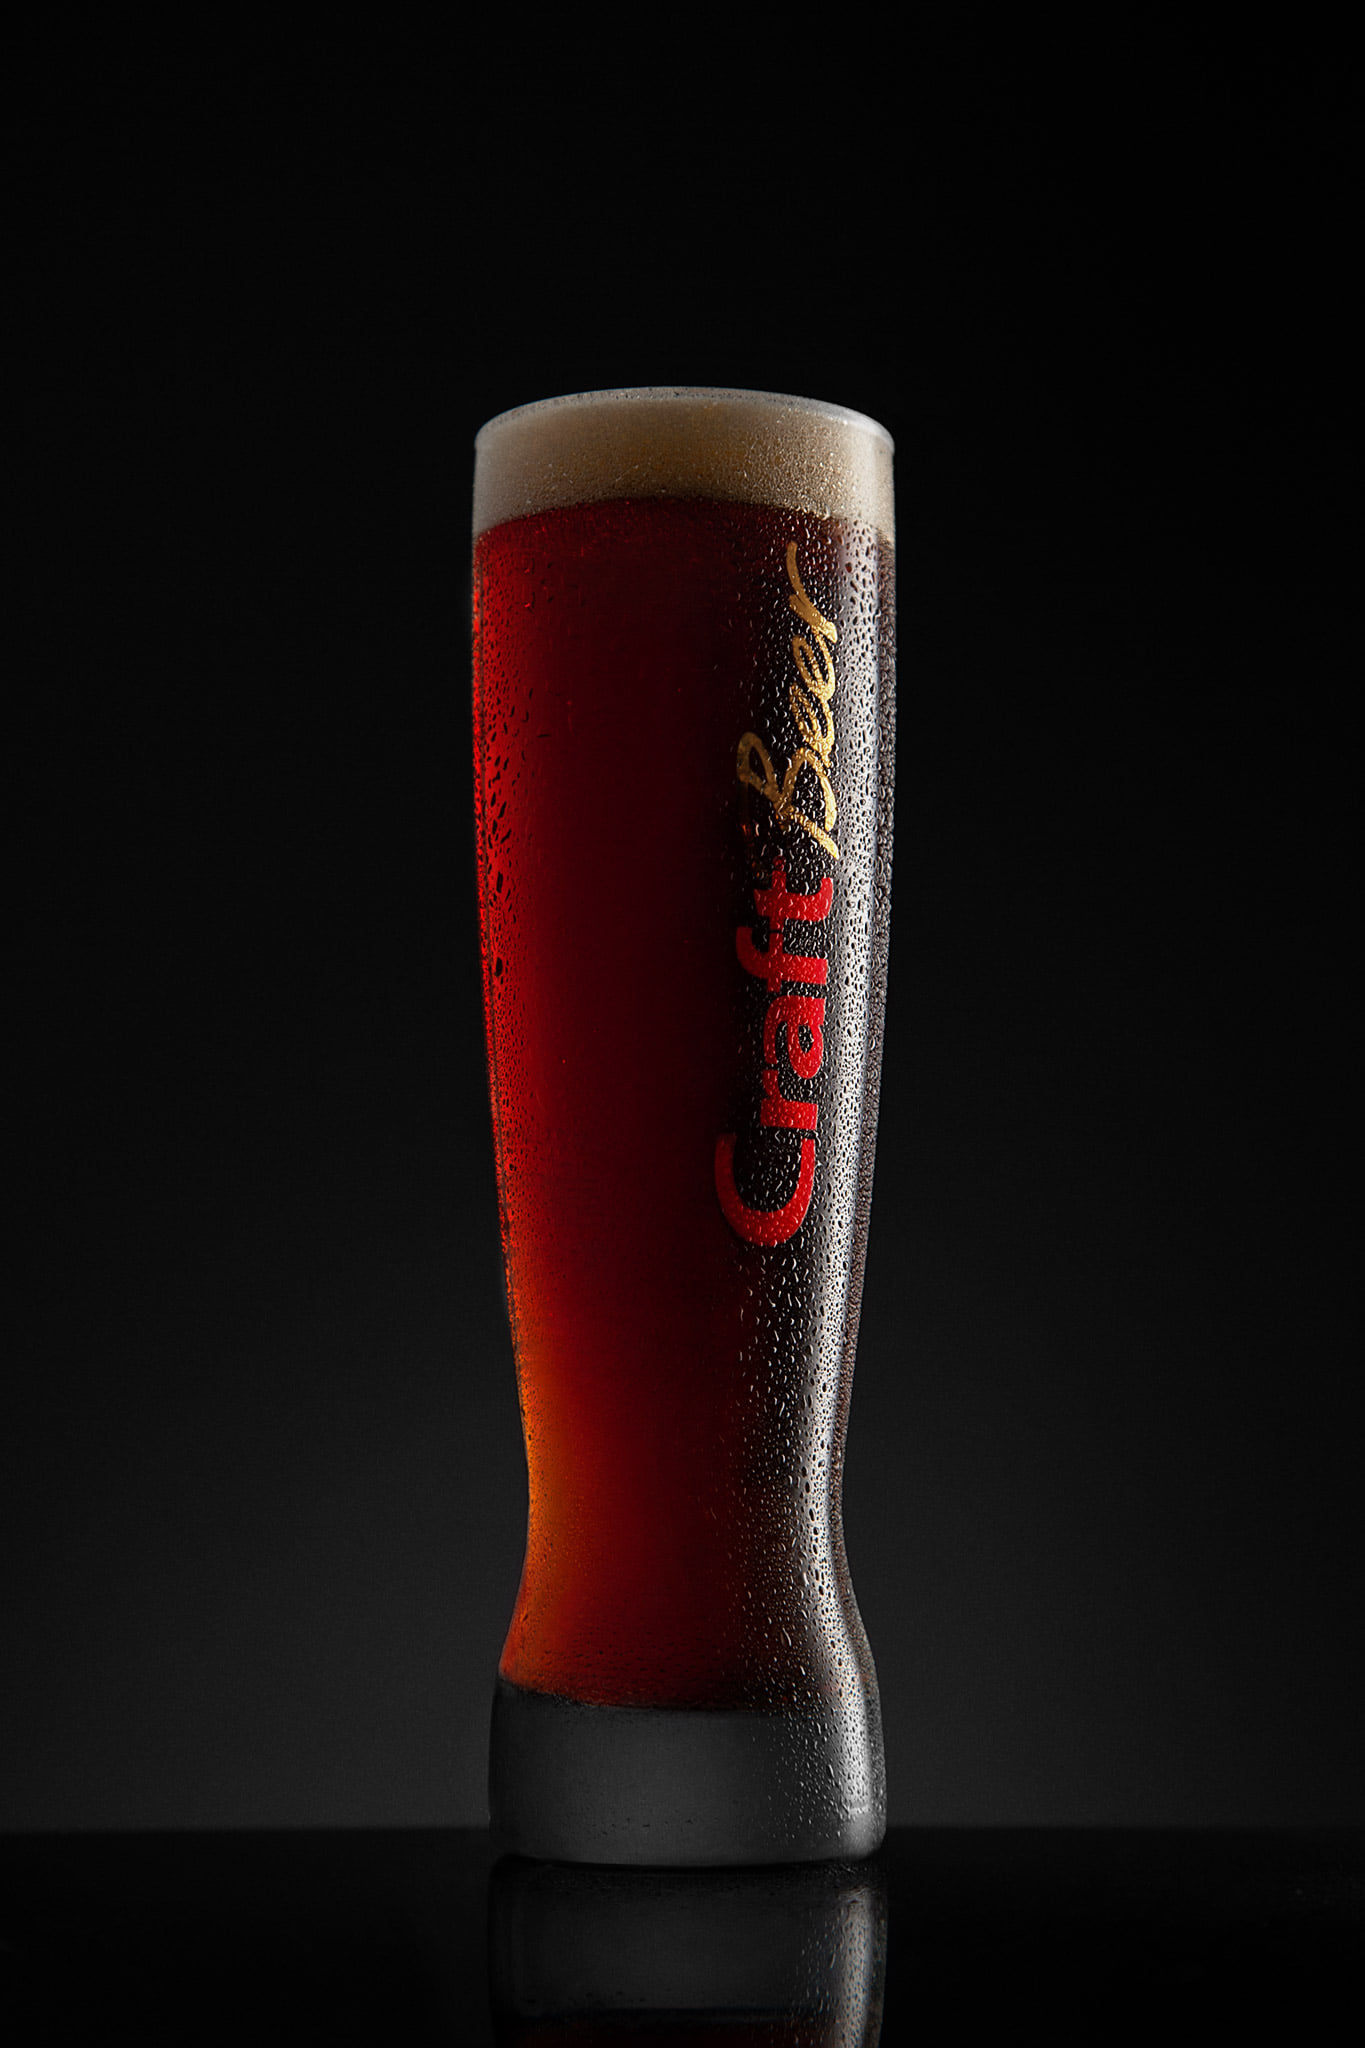
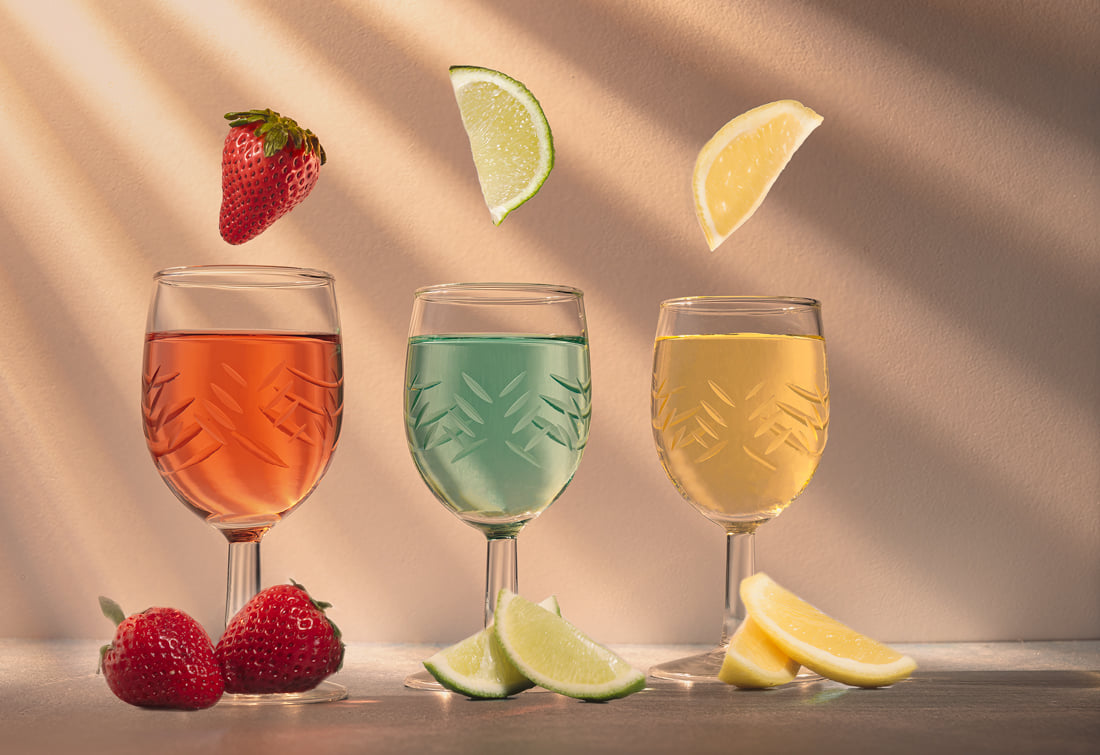
A few images from the previous class.


RESOURCES
LIGHTING WITH PURPOSE: BOTTLES
NEED STUFF TO GET STARTED WITHOUT BREAKING THE BANK?
If you need a set of lights to work with in this class, consider taking a look at these. Very inexpensive, and very useful.
Since product is not usually moving around, we can use inexpensive continuous light to help us visualize where the light will fall, how it will be reflected back to the camera, and what the light will reveal on the product.
If you are going to use scrims, this set of LED’s is quite a good set of lights. I have them and love them a lot.
Here is a good scrim for a good price.
If you just need a boom, this one will work well.
The scrim from a 5-in-one reflector set can be a good asset if you have one already.
Tripods are a must for product photography. Make sure yours holds the camera steady and doesn’t wobble.
Stands are the lifeblood of any product set, so make sure you have as many as you can. (NOTE: cheap stands can be great for holding fill cards or scrims.
PLEASE CONTACT ME IF YOU HAVE ANY QUESTIONS ON GEAR. I am happy to help you put together a good tabletop setup for any budget you have to work with.
UPCOMING CLASSES
ASSIGNMENTS:
4. LARGE CONSUMER BOTTLE OF LIQUOR (OR TEA)
A consumer-sized bottle for an ad-like shoot.
5. THREE OR FOUR SPRAY-PAINTED WINE BOTTLES.
(Two sprayed gloss black, and at least one painted matte black)
6. 6-PACK OF BOTTLES OR CANS OR A 4-PACK OF WINE SPRITZERS
7. BEER GLASS FOR A PERFECT HEAD OF BEER
(or cream soda)
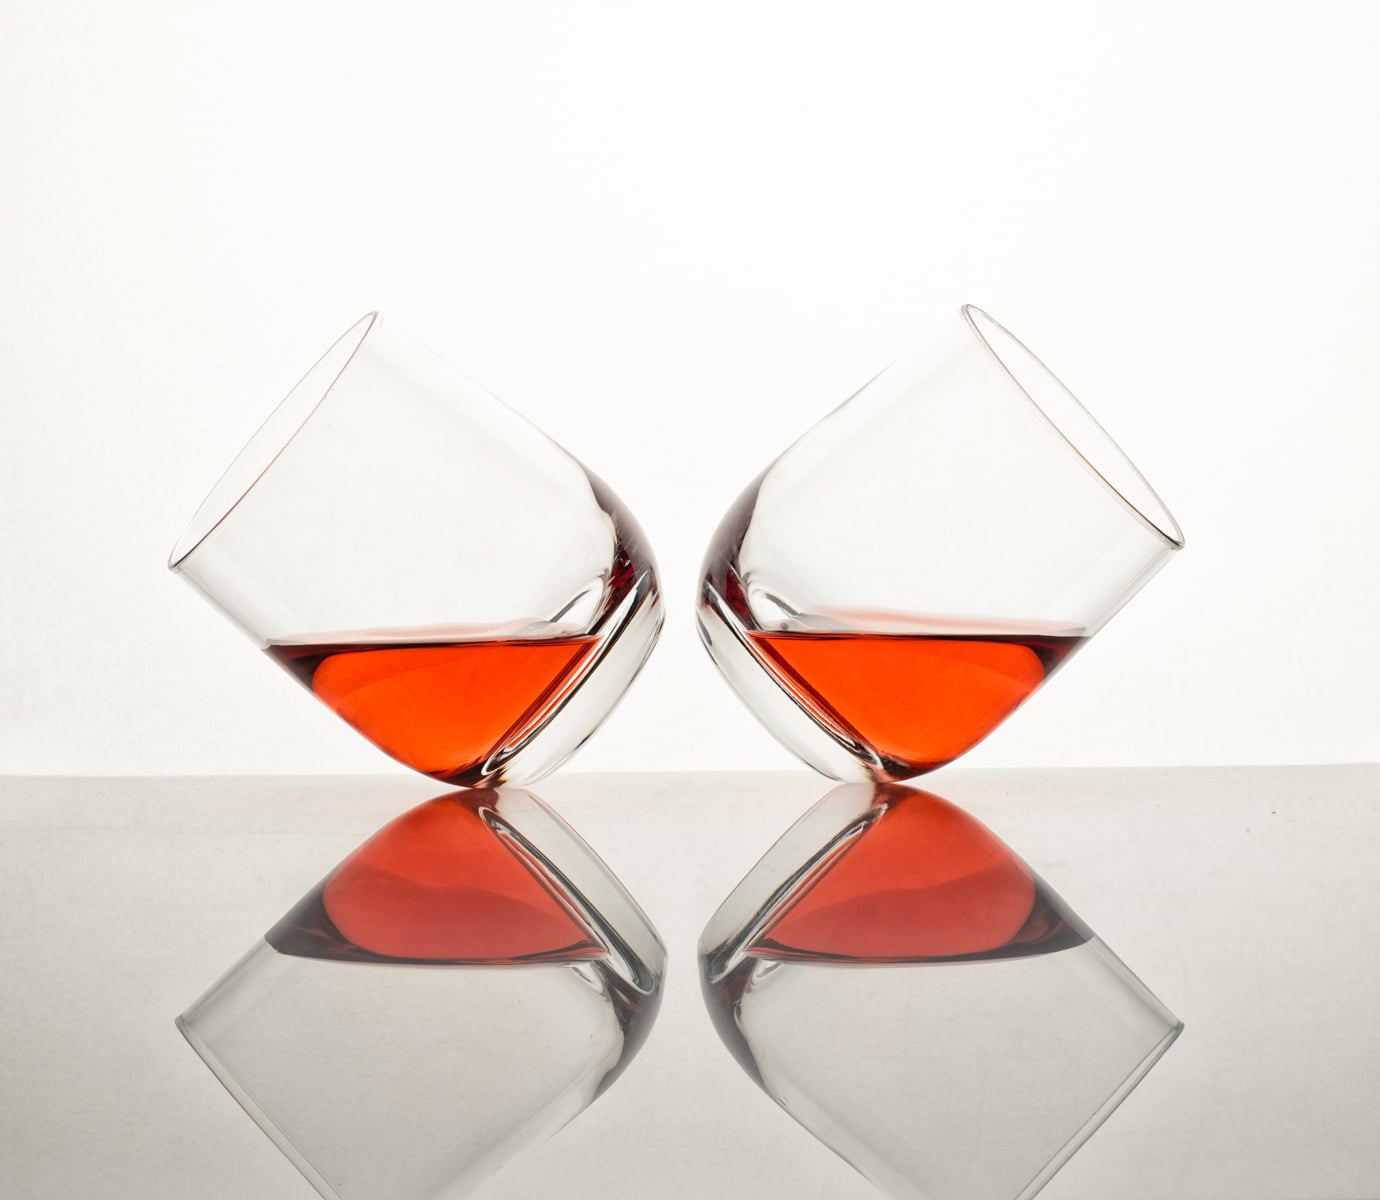
8. TALL THIN APRETIF GLASSES OR GLASSES WITH A UNIQUE SHAPE (Dollar Store, Dollar Tree)
Do this as soon as you can so you can have them ready for the assignment. Use “Goo-B-Gone” to remove the labels. Make sure the bottles match. Take your time with the spray paint. 5 light coats is better than one heavy one that drips.
OUR WORKSHOP CLASSES
CLASS SEVEN
THE PERFECT HEAD OF BEER
ASSIGNMENT SEVENPASSWORD NEEDED: AdultBeverages – Case Sensitive
CLASS EIGHT
BRINGING IT ALL TOGETHER
ASSIGNMENT EIGHTPASSWORD NEEDED: AdultBeverages – Case Sensitive
