Going Beyond Full Frame Without Selling The Farm.
In this tutorial, I’ll share my reasoning for going beyond full-frame, a few reasons why you shouldn’t, and some simple steps I use to create images that match your vision.
While there are huge differences between a Digital Medium Format system and this panoramic technique, you shouldn’t let that stop you from creating. If you see an image in your head that you can’t create with a 35mm system, well then, you better get crafty.
It’s not the size that counts, it’s what you do with it.
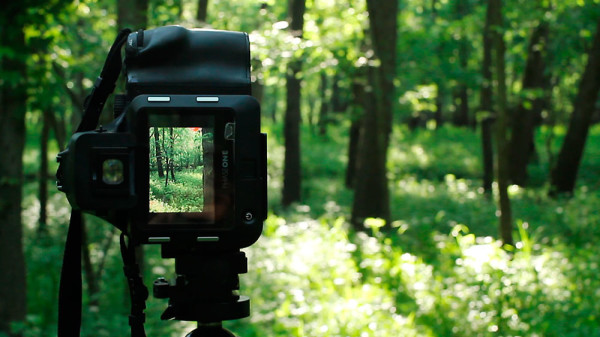
I started shooting with this technique because I was craving the field of view, and spatial relations that I get shooting medium format, but without having to always shoot film or plunk down a house-worth of cash for a digital back.
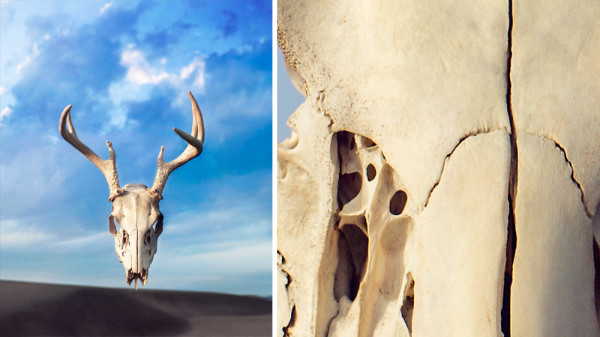
The detail and resolution of medium format is incredible and beyond stunning when printed larger than 24×36. The depth in the image is scrumptious and gives portraits a very romantic feeling when combined with DMF’s incredible color.
You’re basically viewing a Flemish Renaissance painting as the oil paints are still drying.
(Think van Eyck’s Arnolfini portrait. Or anything Titian.)
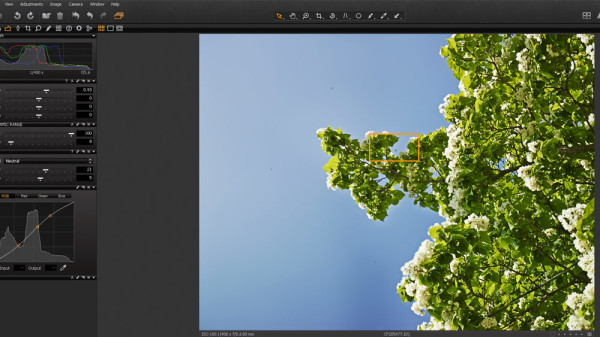
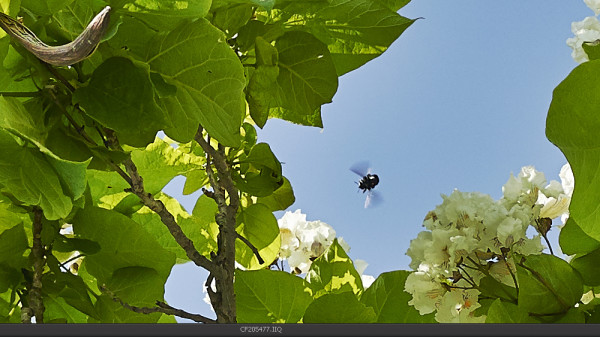
[Uncropped Frame from IQ180 showing outline of crop in image below]
[100% View from above image]
While digital backs are delicious, they cost more than a home in the rural Midwest and few people probably have a need for that kind of gear! Getting a used digital back is a semi-affordable option, along with renting one.
Even so, we’re still talking thousands of dollars.
What other options do we have to create images that fit our vision?
We’d certainly not let a bit of gear or software hold us back from creating, would we?!
The Technique
Seeing Your Final Image
The most important part of this technique is being able to ‘see photographically,’ knowing what the final image looks like and how you’ll create it. This takes moving beyond what you see in your viewfinder and instead envisioning the final image as you’d like to create it.
Keep Your Settings the Same
This one seems obvious but it’s easy to miss. For this technique to work smoothly it really helps to keep your camera settings consistent through your image making. Set your ISO, WB, aperture, and lock your focus on the subject.
Create Frames to Build Final Composition
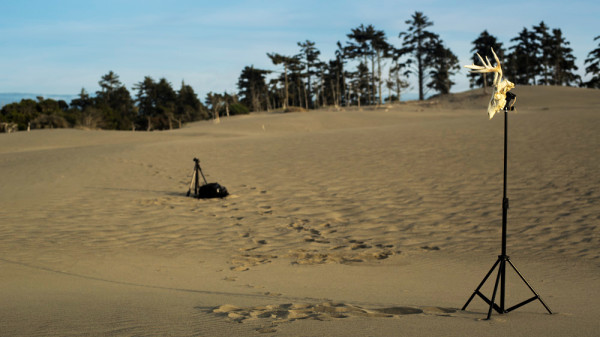
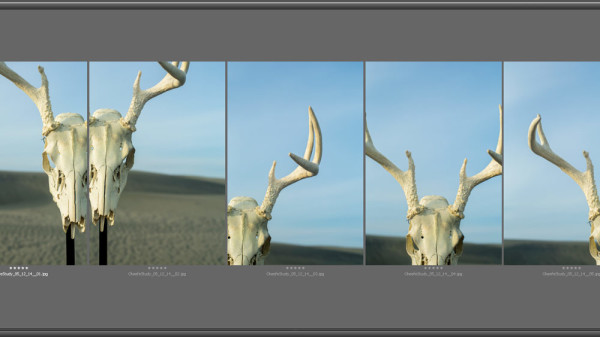
You can build your composition by creating rows of portrait oriented images the same way you’d create a standard panorama, and then merging and blending accordingly. Another way is to make the images in a spiral starting from your subject and working outwards in a simple pattern.
Take a frame, move right. Take another frame, move down. Take another frame. Move left. Etc.
Each subject/composition/camera/person is unique, so experiment and create your frames while being aware of how your sensor is collecting the light.
Be mindful of your plane of focus while making these frames. Any movement you introduce into your camera/sensor will change the plane of focus. That is just physics. You’ll want to be aware of this as you create your image.
Using a solid tripod with a panoramic head that lets you adjust the nodal point will help minimize changes to your focal plane and parallax, but you’re still bound by the Laws of Physics.
Unless you tilt-shift, but that’s for another day.
Review Your Images
Ensuring that you have the images you’d like is essential before moving on, as this method is more complex than shooting a single 35mm or MF frame.
Check, check, double check before moving on from your scene.
There isn’t much worse than realizing you missed a frame in your “grand vision.”
Combining Your Frames
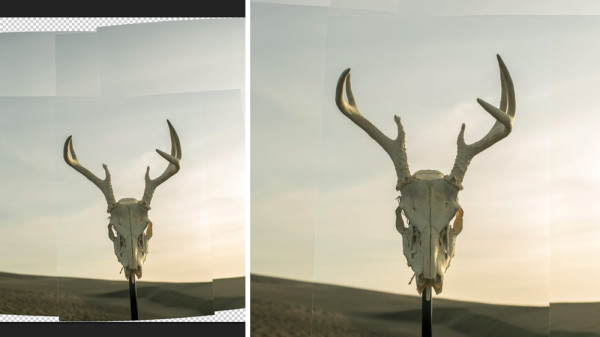
After making global adjustments, you can open these images using Photoshop’s spectacular Photomerge, or use an open source alternative like Hugin. The settings you choose in photomerge will depend on the lens/camera you choose and number of frames. I’ve noticed the best results using “cylindrical” as the mode and turning off ‘blend images’ and ‘fix geometric distortion.
Even with all that automation, you’ll have to watch out for misalignment issues, out of focus areas, and anything else that may detract from your final image.
If you’re system is having trouble creating a large composite, you can merge your frames in ‘batches’ which will help a bit, though you’ll still have some trouble making the final composite.
At least you have plenty of resolution to play with!
Check + Print
This is just a final review of the image to ensure it meets your standards before printing. Check for bad blending, color shifts, or mis. Out of focus areas on the periphery of your frame can be common with low apertures and isn’t always noticeable when you’re in the field.
Quick Recap
- Know what you’re creating in terms of composition before you begin to setup.
- Use your Photo Yoga/Tai-Chi skills to play with the composition before you shoot.
- Keep your camera settings the same and lock your focus, otherwise you’ll have all sorts of trouble when putting these frames together in your final image.
- Have plenty of overlap in your frames, but reduce changes in your focal plane as best you can. Any movement will change your plane of focus, which is especially noticeable at lower apertures.
- Watch for parallax in your frames and be mindful of any complex geometry like tree branches, fences, etc. Using a solid panoramic tripod will help minimize this, but you’re still blending images which raises the potential for problems.
- Look for any distortion, misalignments, bad blending Photoshop introduces during your alignment. This is a personal preference, though you may differ and enjoy these aberrations in your image.
A Couple of Caveats
There are also client considerations to bear in mind when deciding whether or not to use this technique. Some clients and publishers will not allow for digitally manipulated images to be used. Nada. Zilch. Zero.
That means REAL graduated ND filters, and no modifications outside of what you could do on film or in the darkroom.
Other times the client will need a higher resolution, color accuracy, and image quality for the final output that could require a medium format image versus this stitched 35mm technique.
Either way, when using this technique the risk of failure is much higher than simple using medium format.
Even when PhaseOne is acting up!
(Takes the battery out. Puts the battery back in.)
Conclusion
Don’t let Resistance get the best of you.
Get out there and make something you love.
Shane Ernest
*In my research of this technique I discovered that fellow photographer Brenizer has used this extensively to create some intense panoramas! Prior to Brenizer, the technique was also referred to as “thinking outside the box” in the earlier days of 10mp DSLRs!
There are also ways to do this technique without depending on Photoshop. If you enjoy Open Source tools, I’m happy to give more information on processing. Just send me an email.
 ALL THE TUTORIALS DURING “SUMMER SCHOOL” ARE BY PROJECT 52 PRO MEMBERS EITHER CURRENTLY ENROLLED OR ALUMNI.

