A Different Approach to Table Top
A very common assignment when it comes to table top product photography is to capture a product in a neutral setting. Often you are asked to have white seamless background with no or without shadows and reflections.
The first approach is to just set the object on a white surface like a white Plexiglass, use a large softbox and a couple of reflectors like you see on the image.
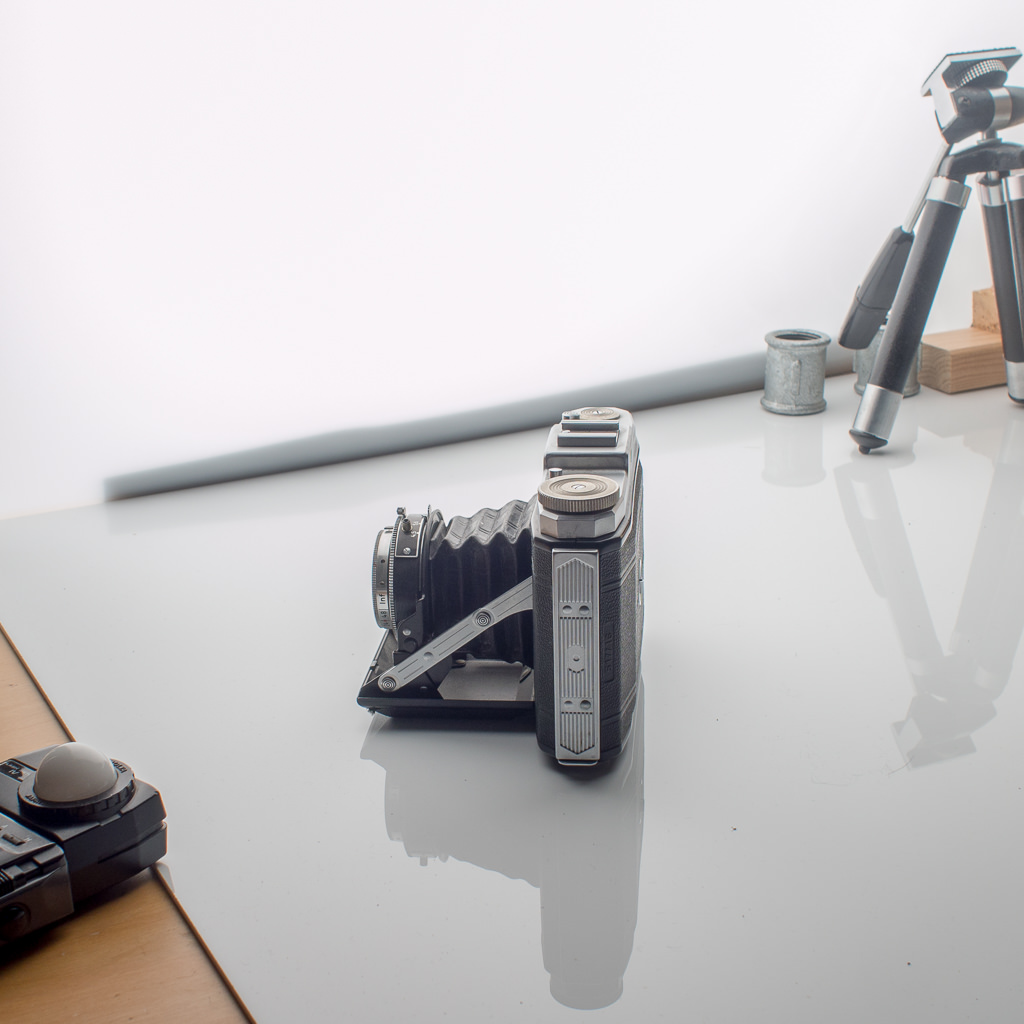
The resulting image shows a soft shadow (if your softbox is rather large in comparison to the object) and a very slight reflection of the object.
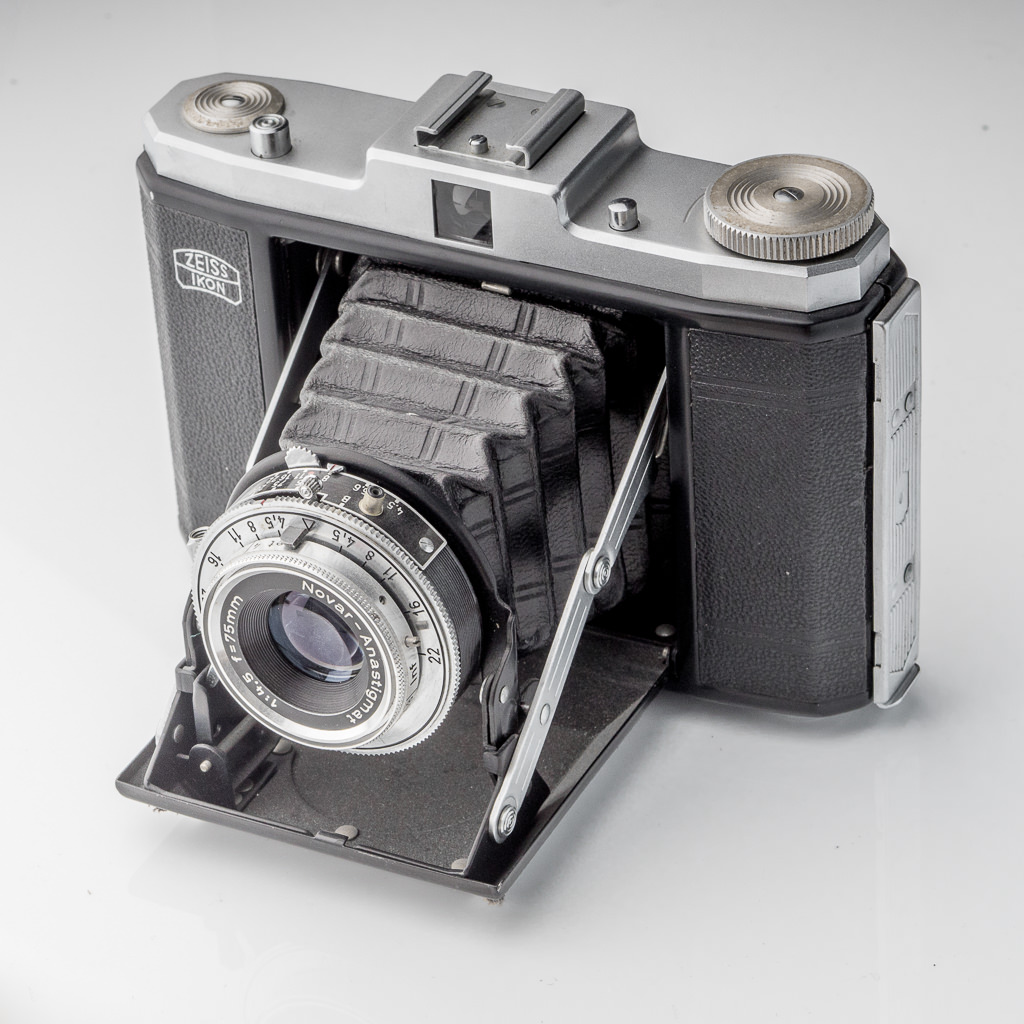
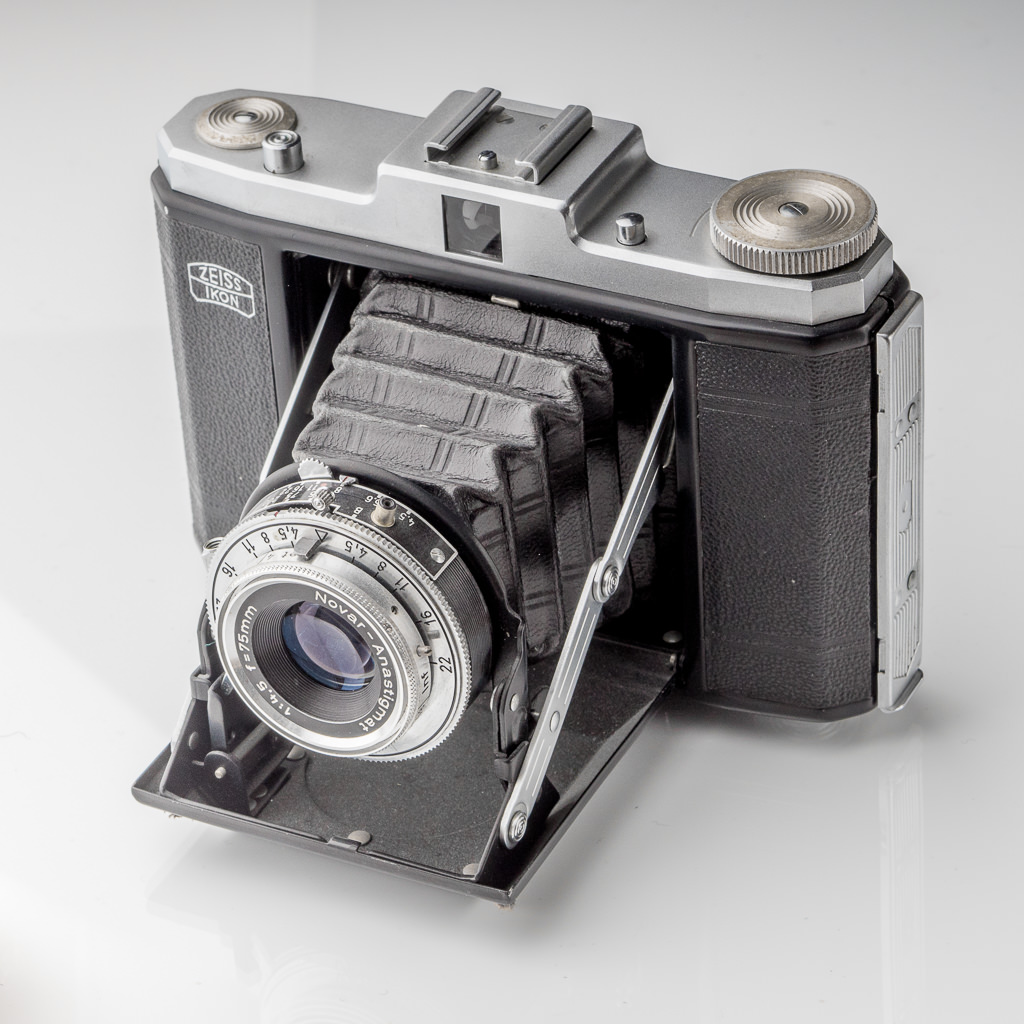
If you want the reflection to be more visible you can use a glass plate between the object and the white plate. You should try to get a glass plate as this as possible. The reason is that there are two reflections happening: one on the surface and a second one on the bottom side of the glass. The thinner the glass, the better because the two reflection will be closer to each other resulting in a less distracting effect. A pretty good choice is using the glass of a frameless picture holder. It’s thin and cheap at the same time. Here’s the resulting image:
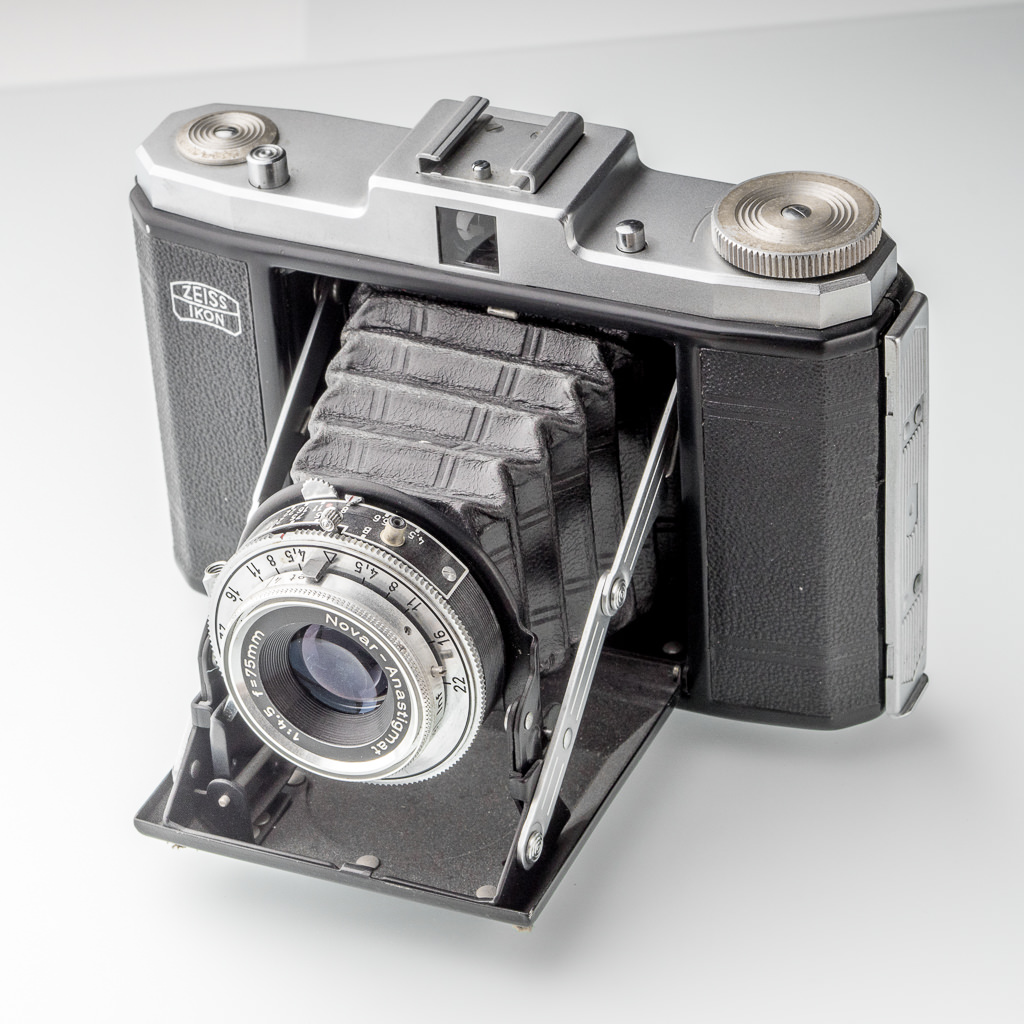
If you don’t want a reflection at all you should use the anti-reflex version of the frameless picture holder glass. Here’s the resulting image:
Now what if you need the object to be completely masked out from the back(no shadows, no reflection)? And you don’t want to use Photoshop but achieve it completely in camera? Well, then all you have to do is to lift the standard glass plate up e.g. by putting four drinking glasses underneath.
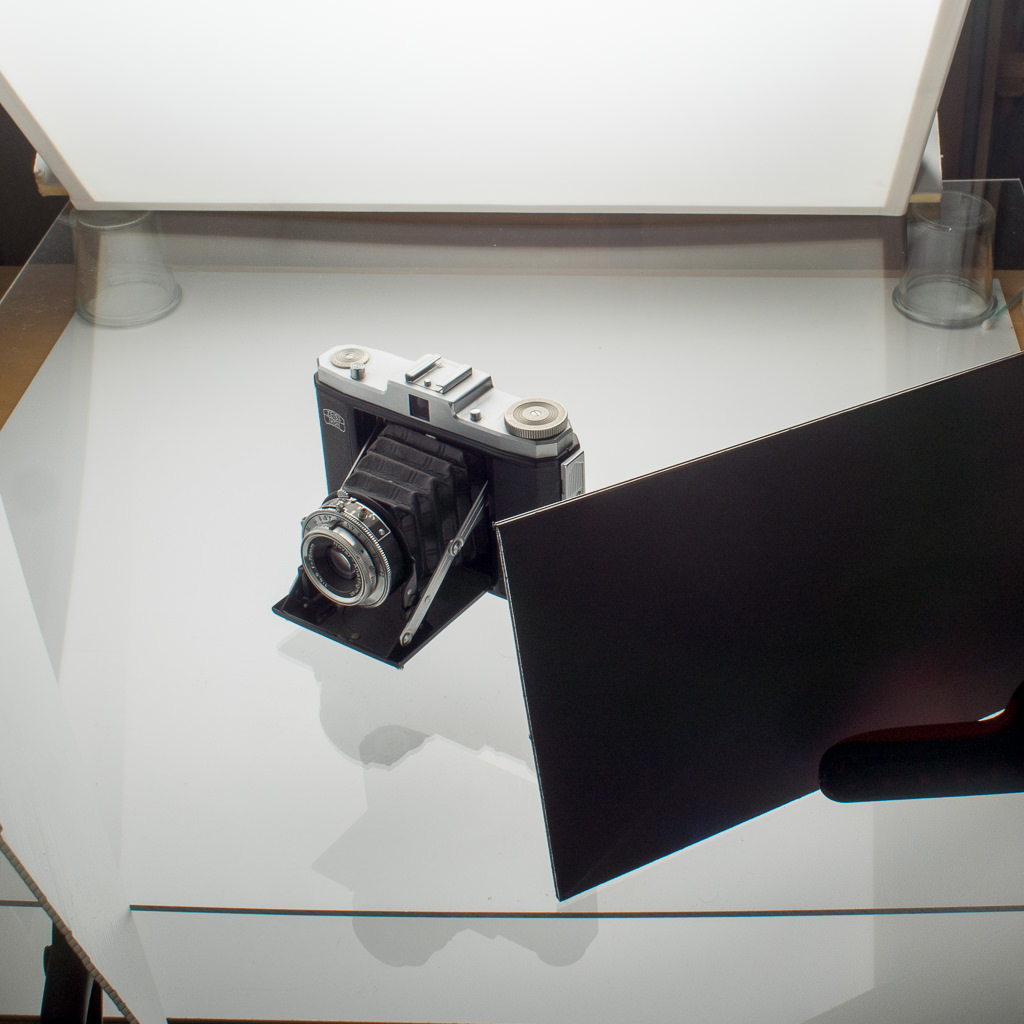
As you can see the softbox is set up behind the object, so the glass plate reflects the softbox and, therefore you get a completely white background.
The resulting image should look like this:
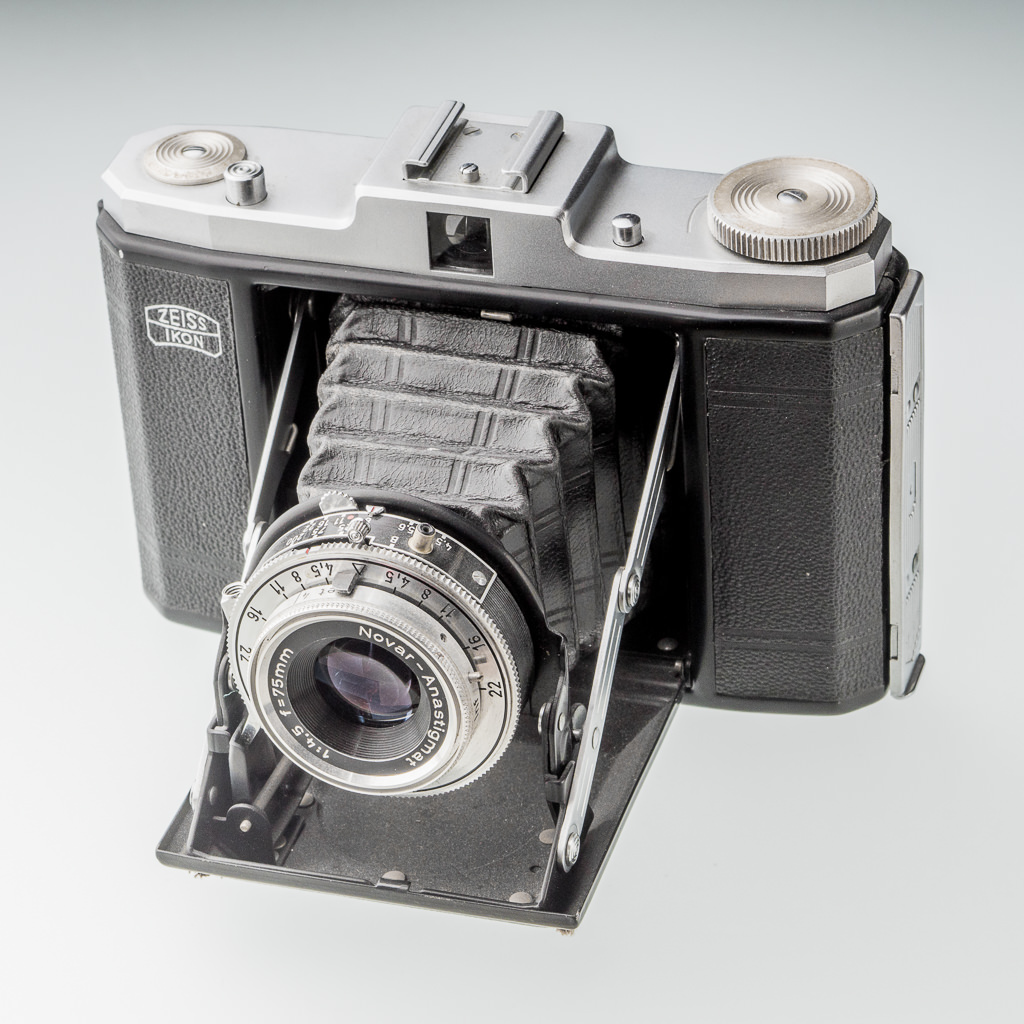
You can now tweak your lighting so you dont’ get a gradient in the reflection and you’re done.
But lifting up the object gives you a ton of other options. For example you can put some black cardborard underneath. In this setting you will get a very pronounced reflection of your object (and other than me you should polish your glass plate before). That’s the resulting image:
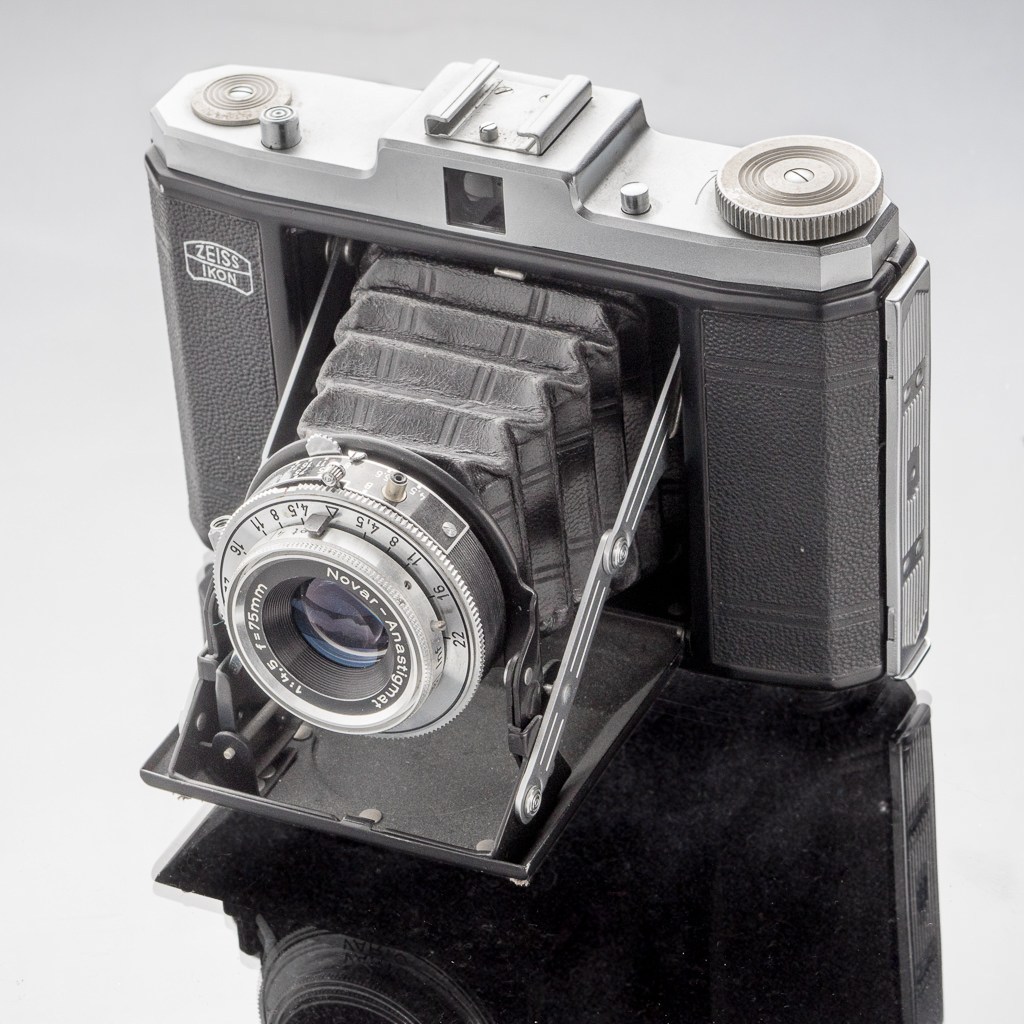
The next approach is to put the anti-reflex glass under the object:
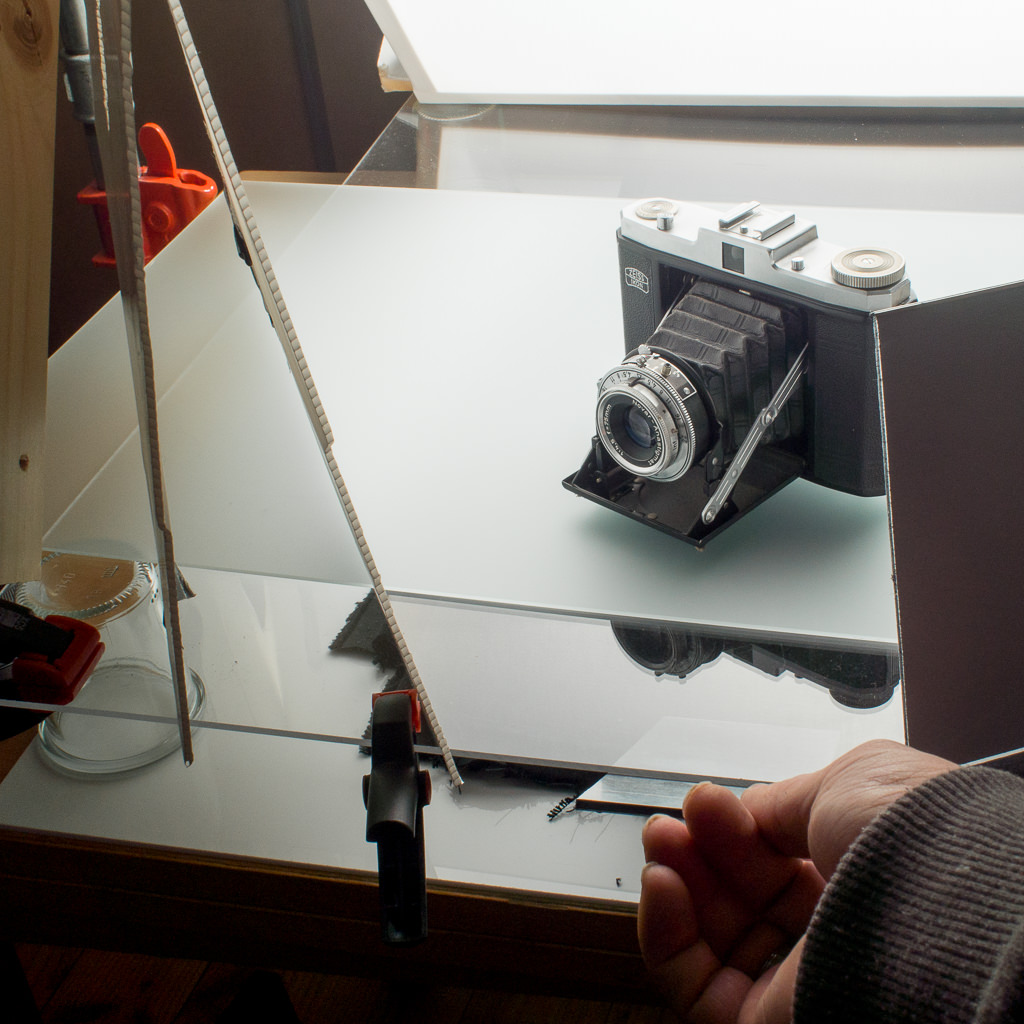
This results in a very interesting image. The object seems to levitate above the surface and the very pronounced reflection is transformed into a mixture of shadow and reflection. It’s hard to tell how this is done and most people will think it’s made using Photoshop.
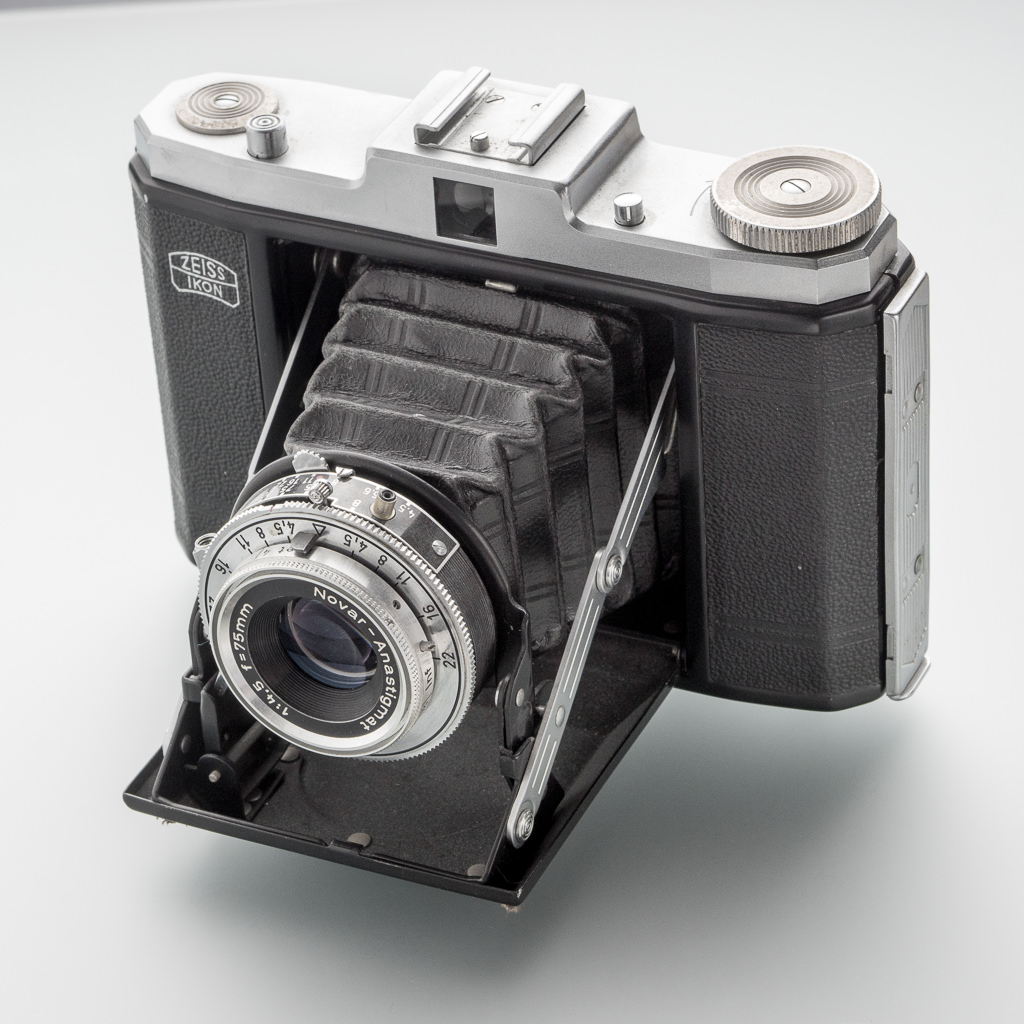
Bonus tipp: As you can see in the last setting it’s possible to put a reflector beneath your object. Since it’s often a problem (especially on a black surface) to get the bottom of an object separated from the underground. If you have to deal with shiny objects you will tend to loose your mind over this task. That’s because objects will reflect the underground surface and if this is black you have no choice. With the above setting you will be able to put something bright to reflect betweeen the object and the black surface and you’re done.
——————————


