We have been looking at business practices for a while now, and I have had some questions about the Photoshop Processing on a few of my recent images. I thought it may be a good idea to show a Photoshop Tutorial on how I create the Antique/Old Camera look.
For those who may be visiting for the first time, there is a lot of information on this site. Hit the Archives button above and settle in. From single light portraiture to big studio shoots, there are a lot of deep articles to peruse.
I have workshops coming up all over the country. Take a look at the Learn to Light site for the schedule. I hope to see you at one.
Here is a list of recent articles:
10 Things You Can Do Right Now for Your Photography Business
10 Pricing Strategies and Challenges for Photographers
Creating a Studio Still Life Shot for Advertising
Deconstructing a Location Portrait
Mixing Strobe and Ambient Light for a Natural Effect
There are more, and I hope you enjoy them. Hit the Tech Sheet Link above for some long-form PDF’s to download and reference when you need the technique.

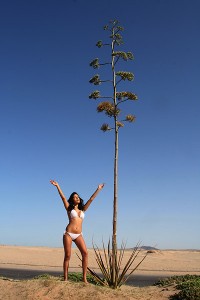
The shot we are starting with is a digital color capture of a model in Mexico at the April Workshop. A total natural light shot, I liked the large cactus thing. The model struck a pose that I thought had a whimsical look to it and seemed fitting to the scene.
Later in editing, I knew that the image, while OK, was not what I was seeing in my head. I decided to work it out as an antique camera look, with a rough old camera “film edge”.
Here is the original shot, right out of the Canon RAW converter:
First thing I do is make a new duplicate layer from the original file layer.
To this layer I apply a Radial Blur at these settings:
Radial Blur / Spin / Good / Amount = 1
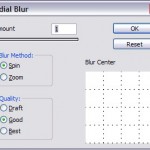
I then apply a second Radial Blur at the below settings:
Radial Blur: Zoom / Good / Amount=2
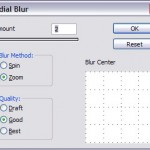
This layer now has the soft focus look of an old camera. We now need the grain of the old films.
I add grain by first adding noise:
Noise / 4% / Gaussian / Monochromatic
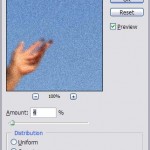
I now add the Grain to the image… not the same thing as Noise, but I do it softly so it looks like film grain, not digital noise.
Filter / Texture / Grain / Intensity = 25 / Contrast = 0 / Grain Type: Enlarged
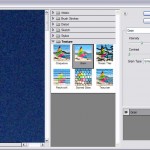
This Layer I now call Blur-Grain and lower the opacity to 60% to blend the two layers.
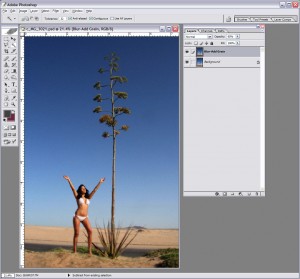
I duplicate this layer and desaturate it. I move the opacity back to 100% at this point.
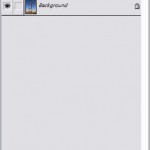
I then create a new layer above the Desaturated Layer and do a radial fill, from white to black, from the center out. Setting this layer to Blend Mode / Overlay creates a vignette. You can now calibrate how much you want the vignette to be with the opacity slider.
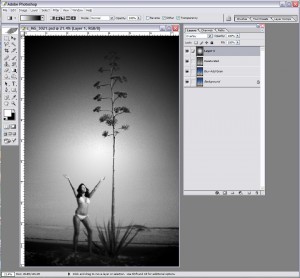
I clone this layer to a layer above and change the Blend Mode to Soft Light. Again, you can now tweak the amount of vignette you want to achieve with the opacity sliders. Both layers of vignette can be adjusted separately for different effects.
Creating a border for the image is done on a new layer. I use guides to add the distance and then make a selection inside the guides. Invert the selection and fill it with black. (Select / Invert / Fill with black)
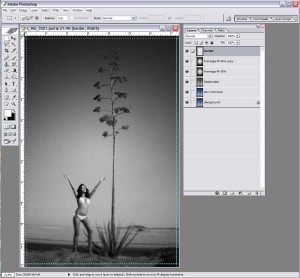
Here you see the border filled with black.
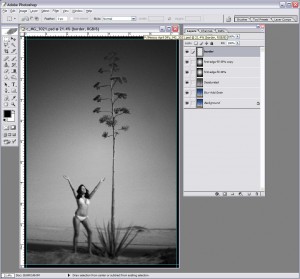
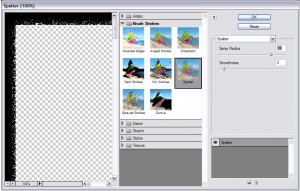
Spatter Brush of the black border. Radius=19 / Smoothness=2. Don’t worry about the edge at this moment, we will blend it on the blend mode by changing it to Multiply.
Changing the Blend Mode to Multiply will eliminate the fringe look to the spatter brush work we just did. If it doesn’t look like enough to you, simply run it a second time.
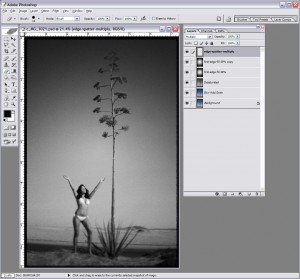
I now add a Curves Adjustment Layer and tweak a small “S” curve to get a bit more contrast to the image. You will tweak as necessary for your image, but remember that older film was very contrasty.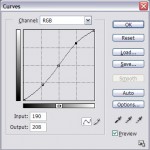
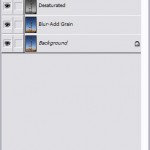
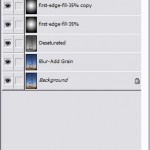
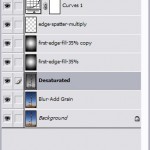
Here are the layers as we now have them. You can see that we can also lower the opacity of the curves layer for even finer control.
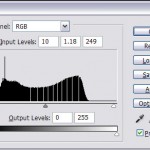
We used a Levels adjustment layer to further tweak the shadow detail to allow the shot to breathe a little more in the shadow / midtone areas.
A new Adjustment Layer is now created as a Hue and Saturation Layer. Click on Colorize, and adjust the sliders to get the color that you like. You can see my settings in the image below.
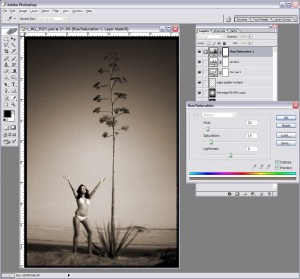
At this point you can add a little color back into the image by changing the opacity on the Desaturation layer. You will also have to lower the opacity on the layers above as needed.
Opacities:
Hue-Saturate – 70%
Curves – 34%
Both Vignettes at 35%
Desaturation at 70%
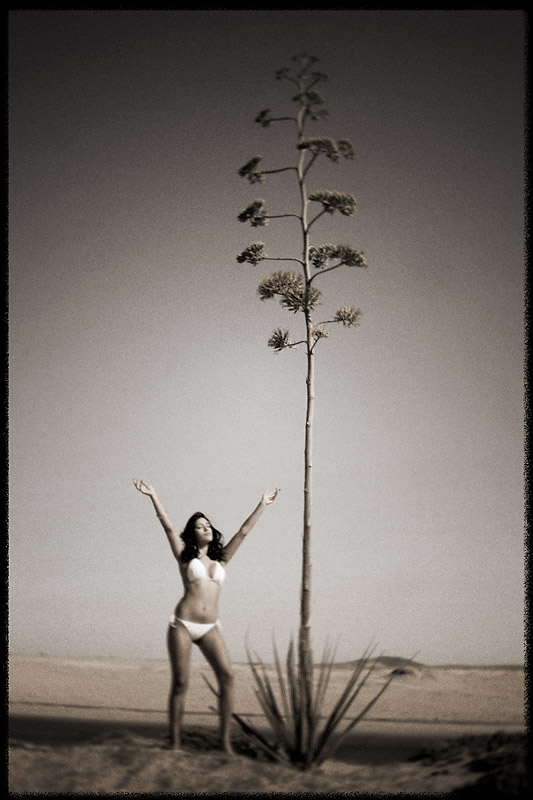
Here is the final shot, with all the Photoshop work in place. I like this look, and hope you try it and tweak it your way.
See you next time.




It\’s always nice to see a different take on something you\’re already doing. I\’ll have to try this……
Thanks (as always),
carlos
I’m digging this look. Good work don. Although I think I wouldn’t have blurred the image quite so much. I prefer sharper images, even if you are going for an aged film look. Good tutorial though.
Out Holga the Holga. Thanks Don!
Denver EP:
The nice thing is that the blur layer is over the sharp layer. Using a layer mask one could reveal the sharpness below with delicate precision. The layer could also be reduced in opacity to control the blur.
Yeah! This is nice… I love how you can tweak the individual layers to get the look exactly how the original image dictates!
Awesome! A new take on some old family pics.
I could not the spatter to do anything though…any suggestions?
Thanks for the detailed tutorial. Your effort is much appreciated!
Ah-may-zing!
You are a God Wiz!
Thanks for the step-by-step!
great idea … thanks for sharing/inspiring … a MUST tweet!
This looks great! However, I get all the way down to where it says to do a \’radiant fill\’ and I don\’t have that option in CS4. Any thoughts on how to perform this step? Thanks so much! I\’m testing this out on a photo and it\’s working except for this next step. Can you help?